As a naturally fair skinned girl who doesn’t tan naturally, I tend to ‘shade bathe’ as opposed to ‘sun bathe’ and opt to get my tan from a bottle instead!
I like to think after all the years of trial and error with self tan (though I still occasionally have the mishap…) I have finally mastered my routine! I feel like I have tried every kind of tan on the market at this point and have definitely had some disasters over the years (picture orange hands and streaky legs).
I have gathered everything I know around self tanning and broke it down into this blog post for you. From the prep work, application and maintenance for the most natural appearing tan so you don’t have to make the same mistakes I did!
See ‘The Best 5 False Tan’s’ blog post to read about my ride or die false tans!
This post features some gifted items with no obligation to post and contains affiliate links. To learn more, click here.
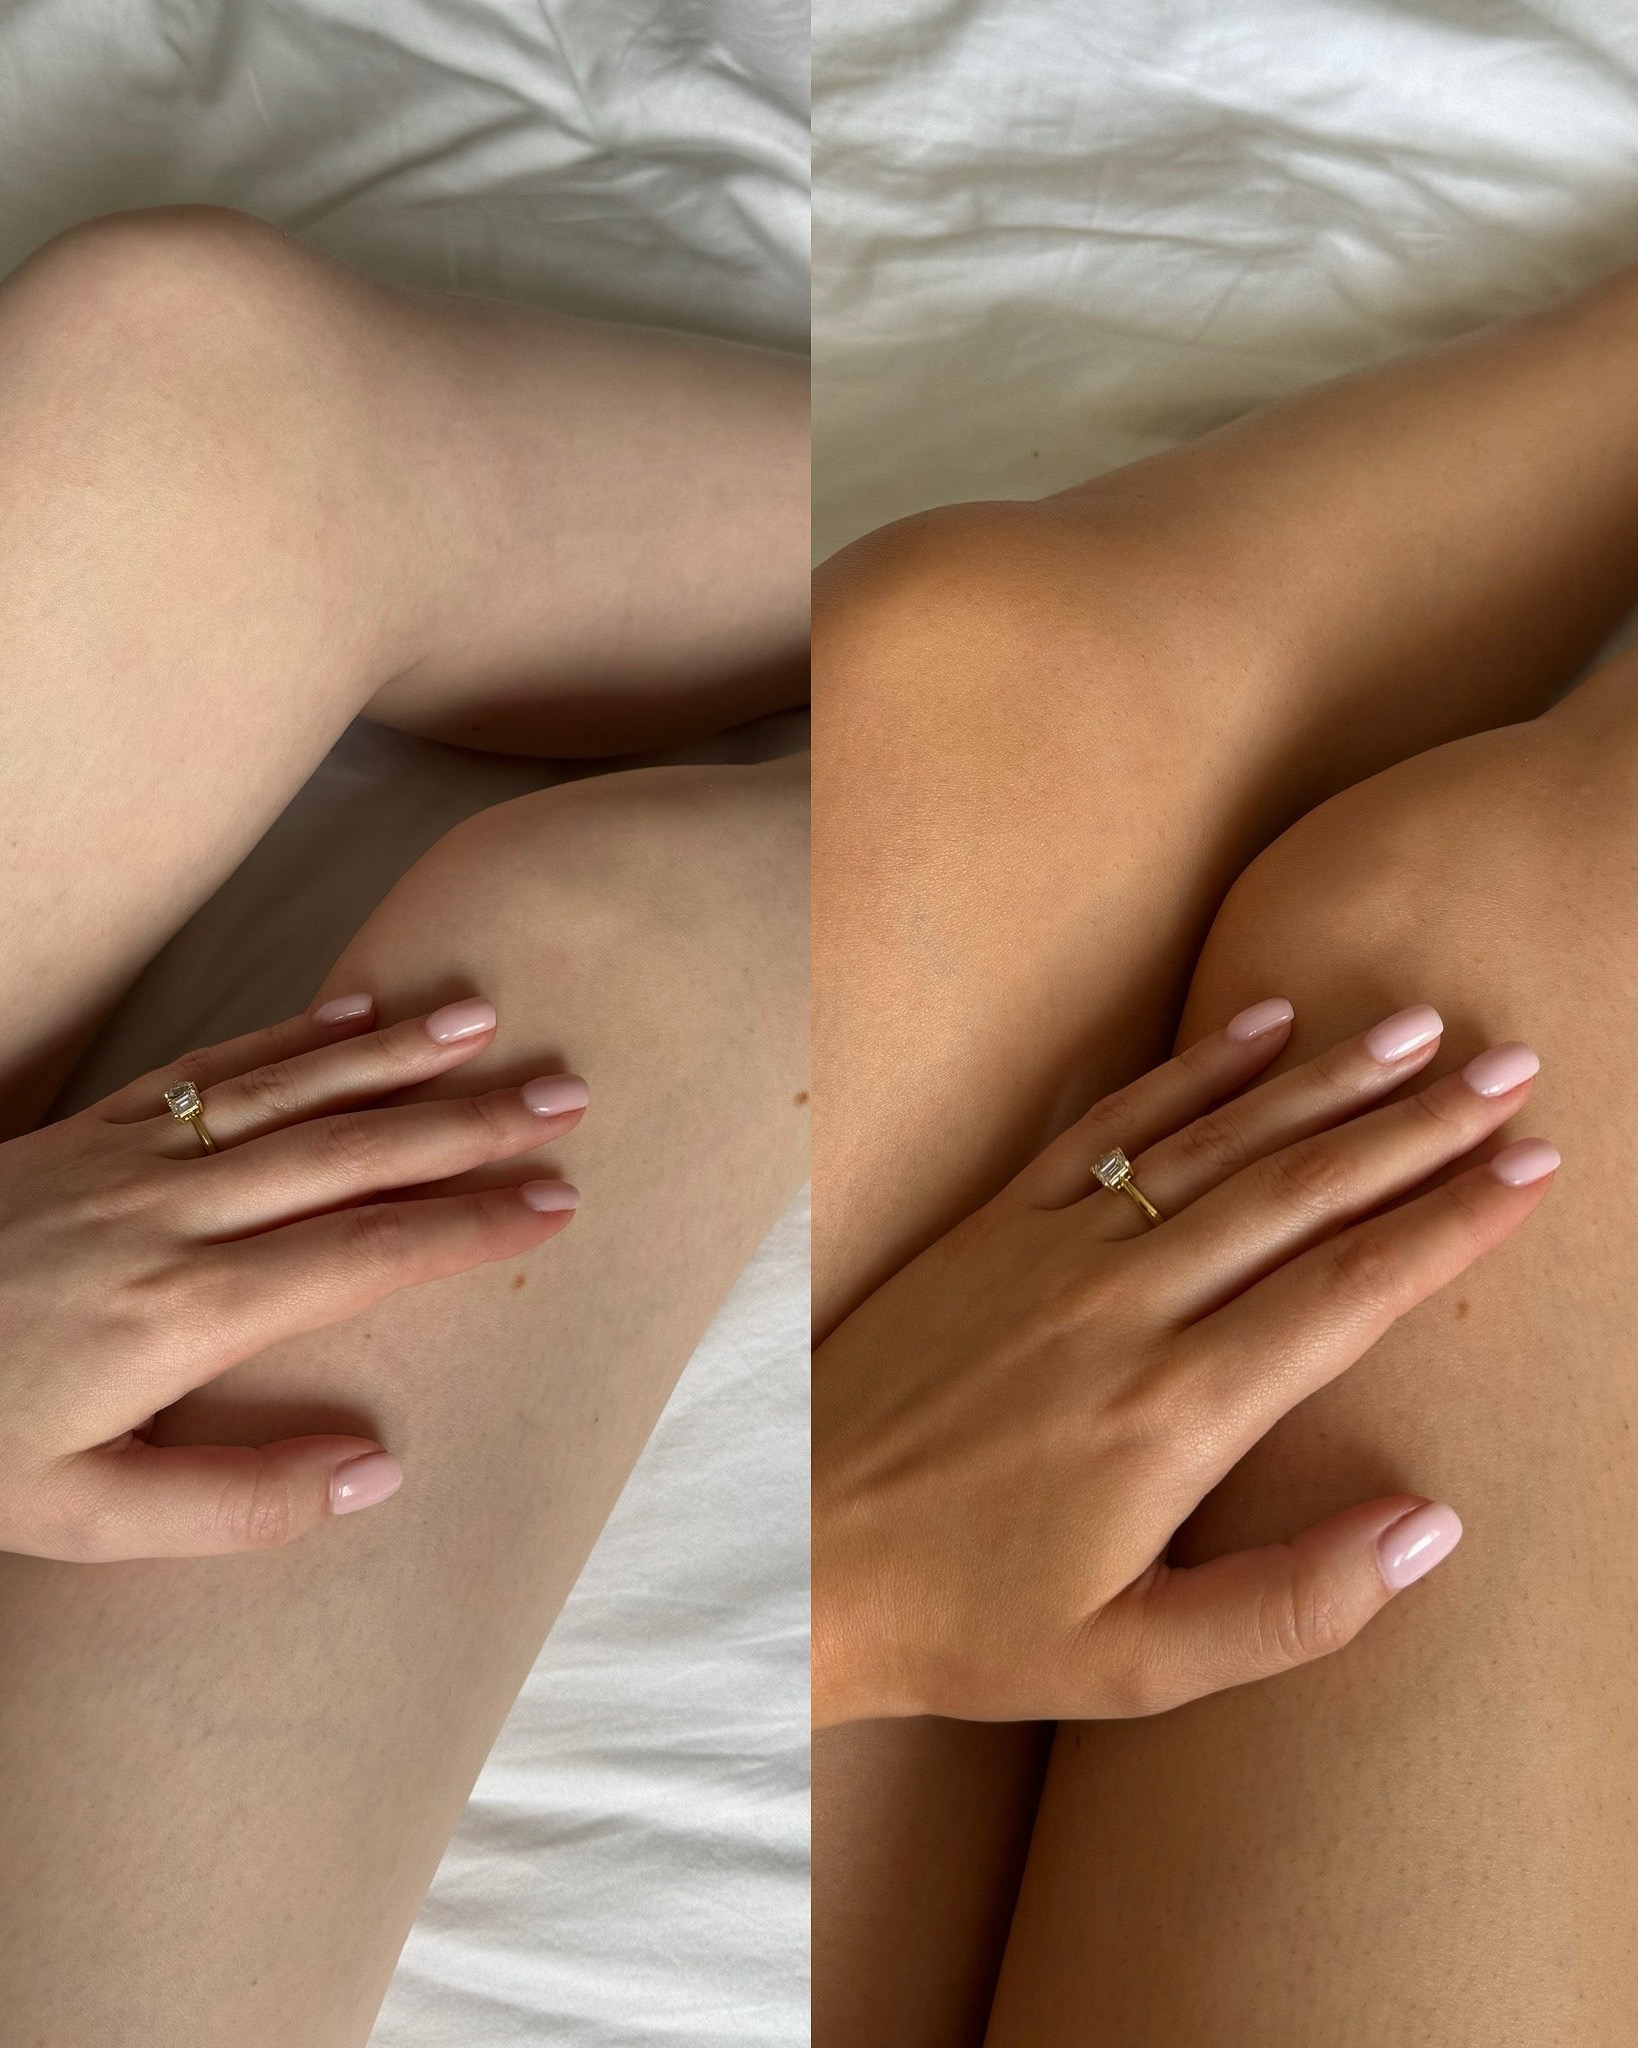
Above image shows before & after using St Tropez Express Mousse.
All In The Prep – Exfoliating
A crucial step to an even looking tan is in the prep work. Like makeup really, I wouldn’t apply my makeup before prepping my skin with skincare. Same applies with tanning!
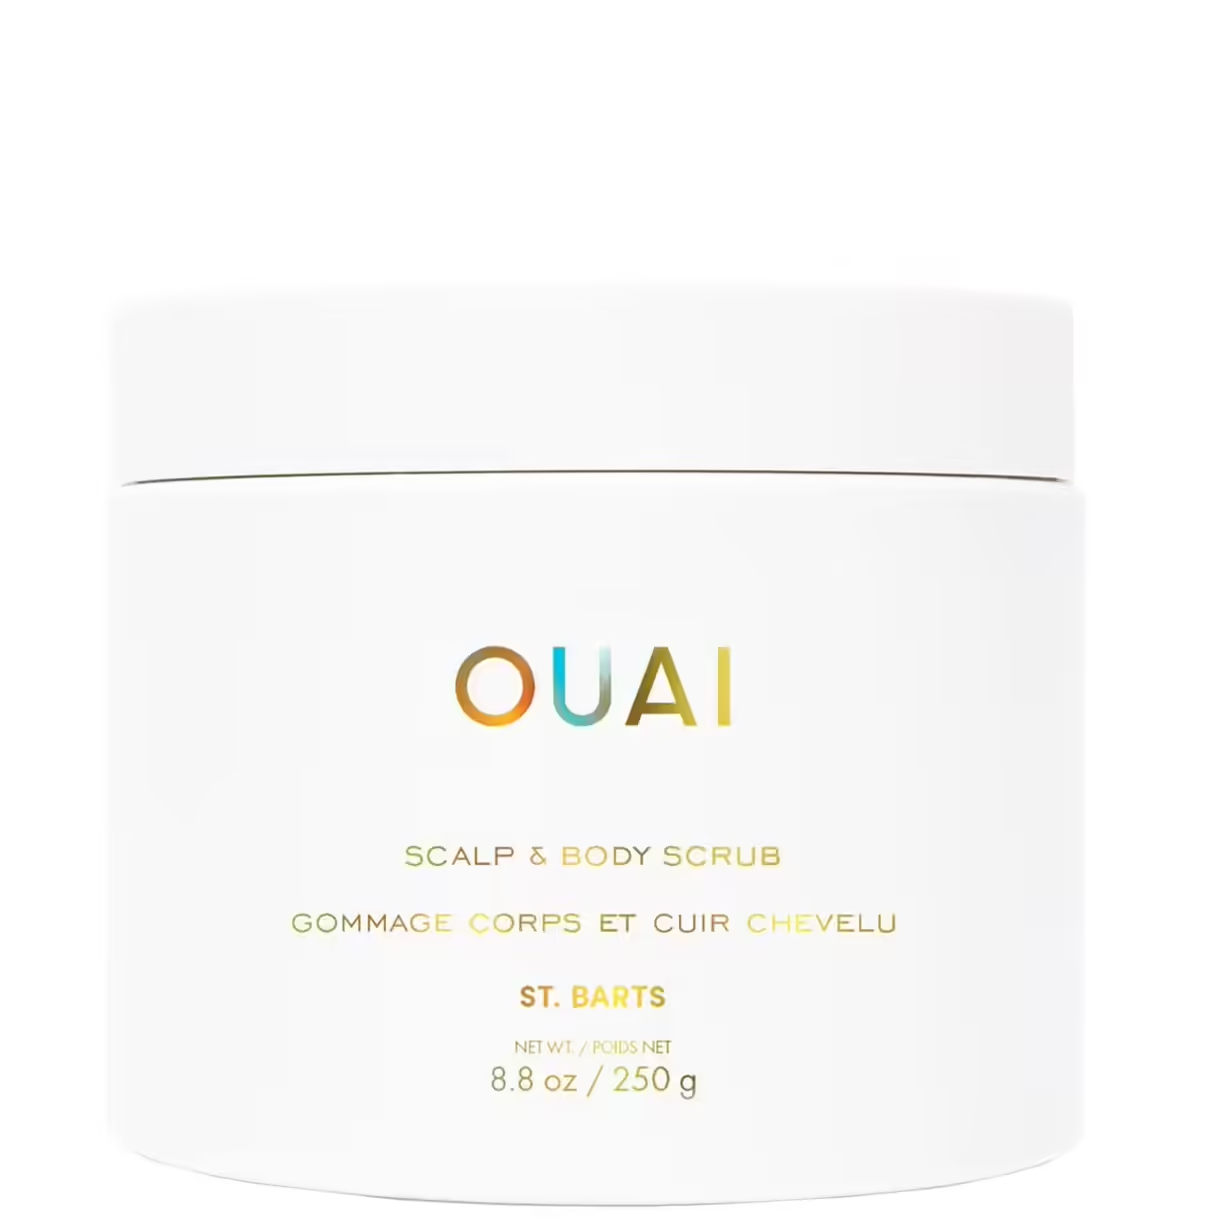
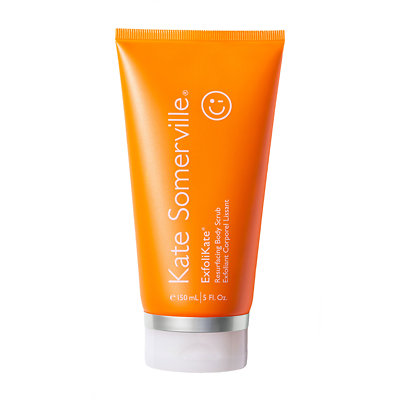
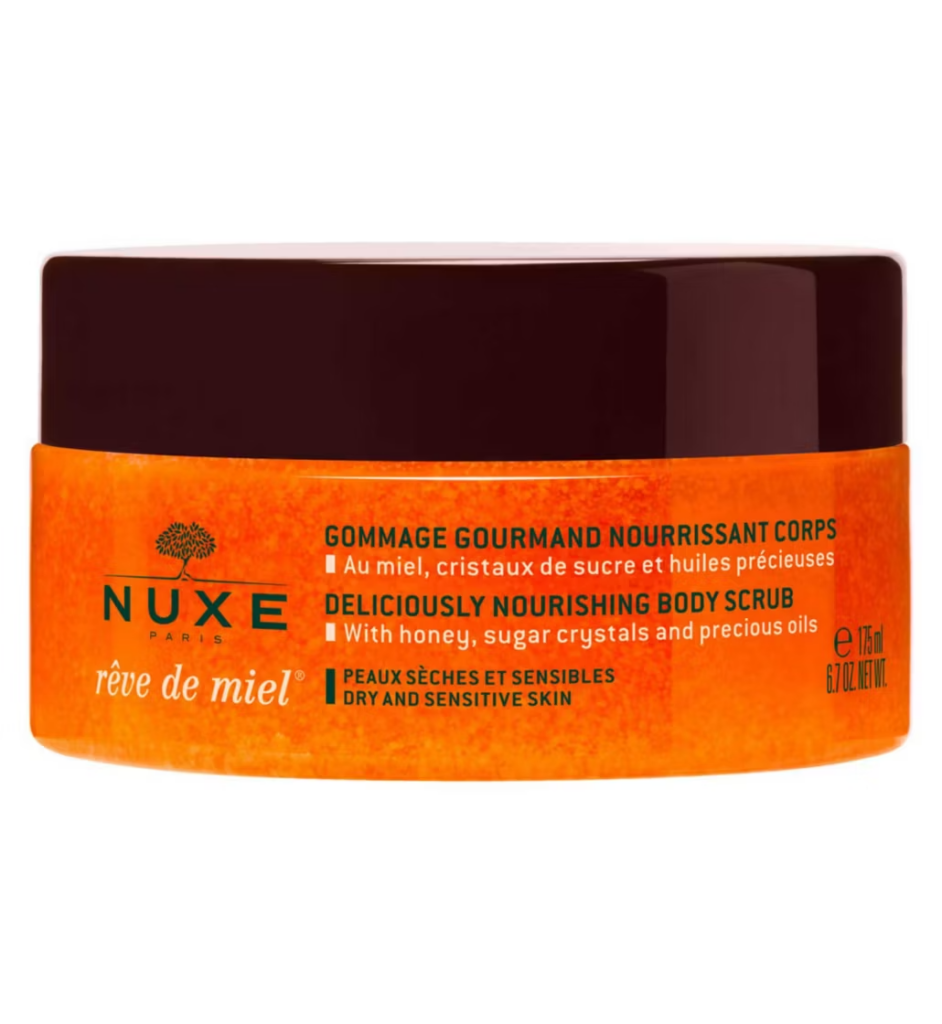
I try and start this the day before I plan to tan if time allows. Starting with exfoliating any dead skin or remaining self tan helps to create a smooth base for you to apply your tan to. If you have areas of dry skin or old stubborn tan, anything you apply on top is going to cling to those areas, resulting in patchy looking tan which nobody wants! It may take a couple of showers or soaks in the bath to remove really stubborn tan so take that into consideration! I’ve linked a few favourite scrubs below.
TIP: Grab yourself a flannel to scrub stubborn areas, or when your skin is still damp after the shower use your towel to rub any excess tan off.
All In The Prep – Shaving
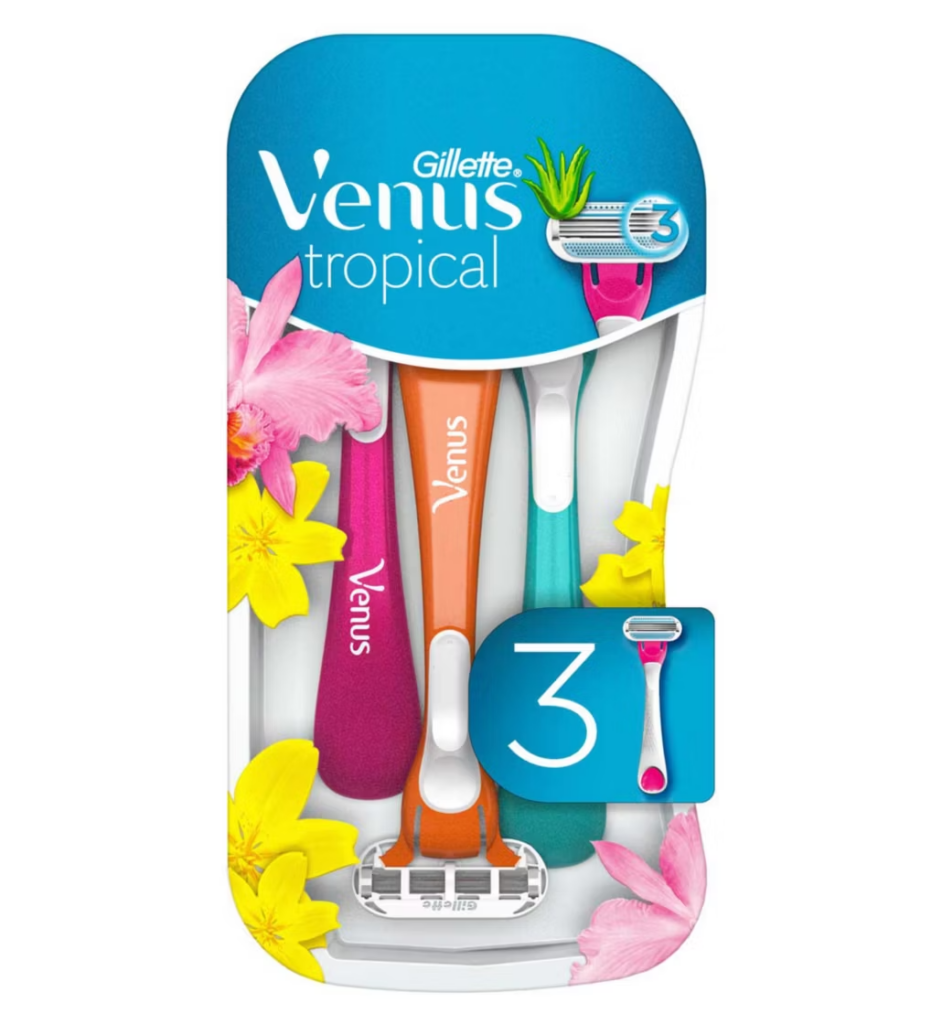
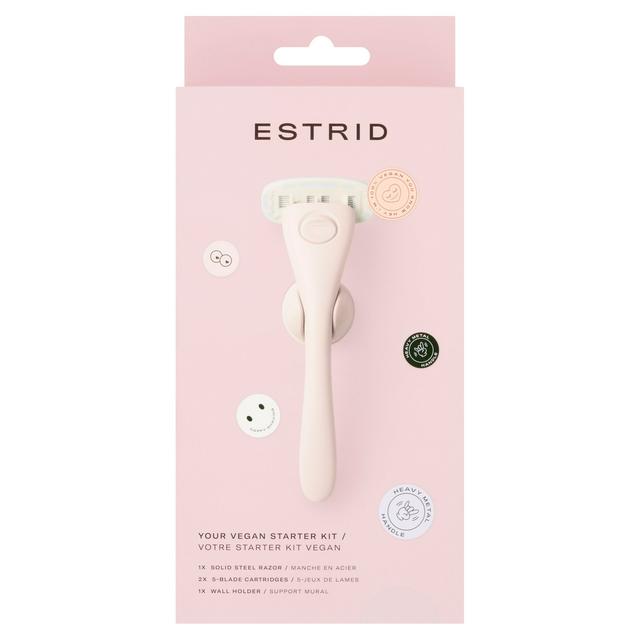
I follow the exfoliating step with shaving for the smoothest base. If you plan on shaving I’d advise doing this the night before you plan on tanning. If you apply tan immediately after I often find that it can irritate or cause the tan to not take to the skin properly. I’ll link a few of my favourite razors below.
TIP: I skip on the shaving foam and use a conditioner instead, trust me you will be silky smooth!
All In The Prep – Moisturising
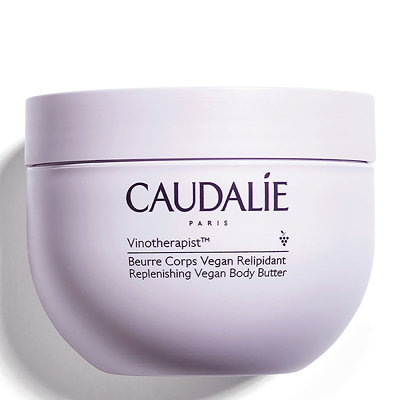
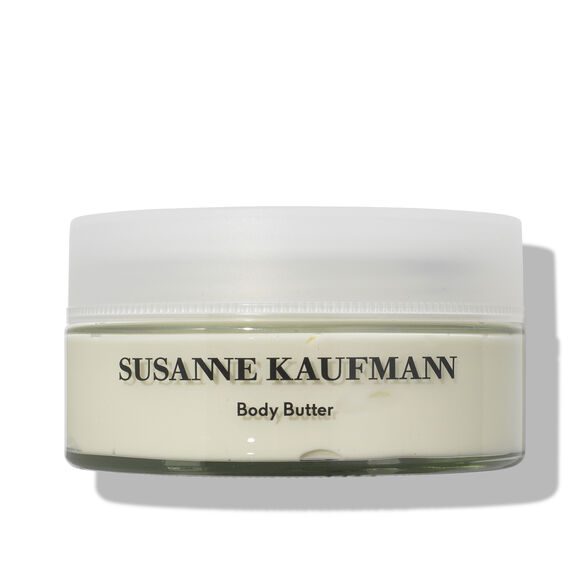
After exfoliating and shaving (if you wish to) you want to moisturise your body well. Focussing mainly on your elbows, wrists, knuckles, knees and ankles as these are the areas that can often become dry (and for some reason tan likes to cling the most to).
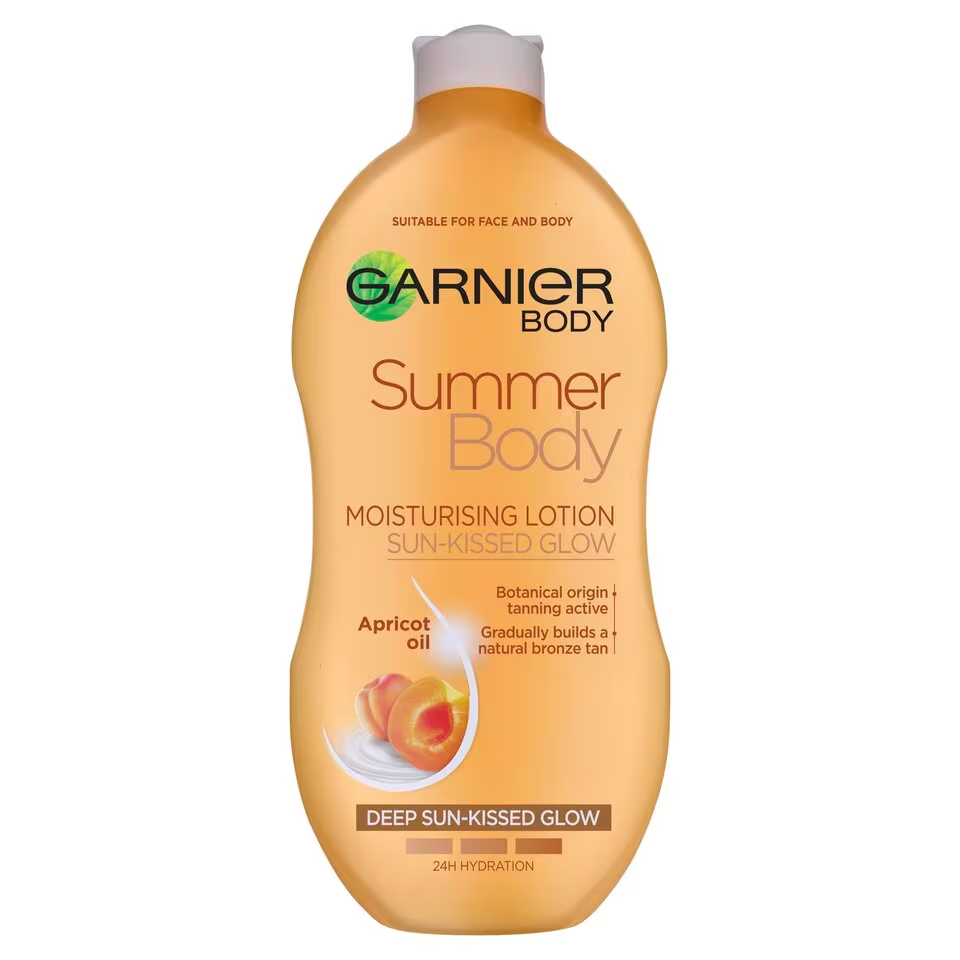
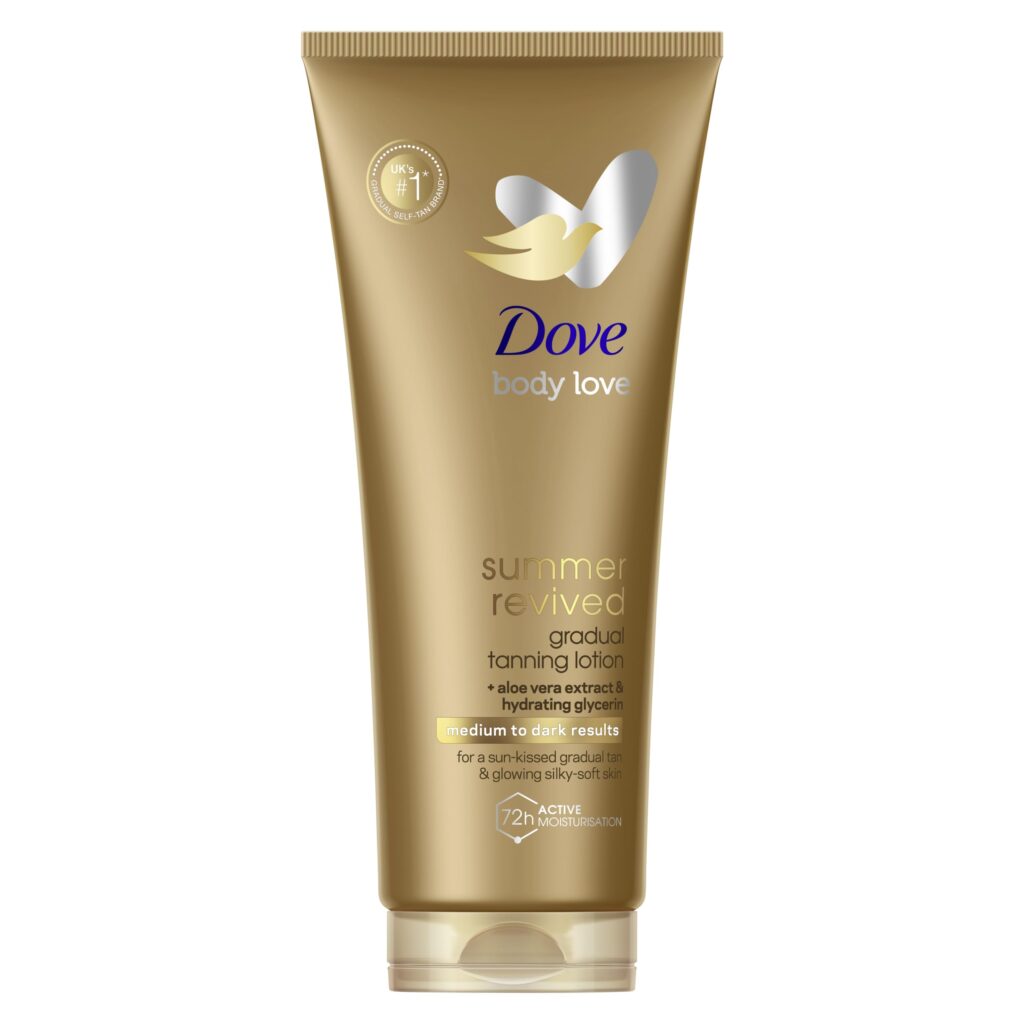
I will repeat this 10 minutes before I am ready to apply the tan, to further create a hydrated barrier. Wait until absorbed before tanning. When it comes to selecting your moisturiser you want something that is nourishing and fast absorbing that isn’t going to leave a greasy residue behind. I’ll leave a few favourites down below to suit different budgets.

Mastering Your Application – The Tools
Now you’ve got the prep work down you are ready to get tanning! But not just yet… you want to get your tools together. And your tools MATTER! Trust me, I’ve tried disposable gloves and fluffy bed socks in the past… don’t do it unless you want orange palms.
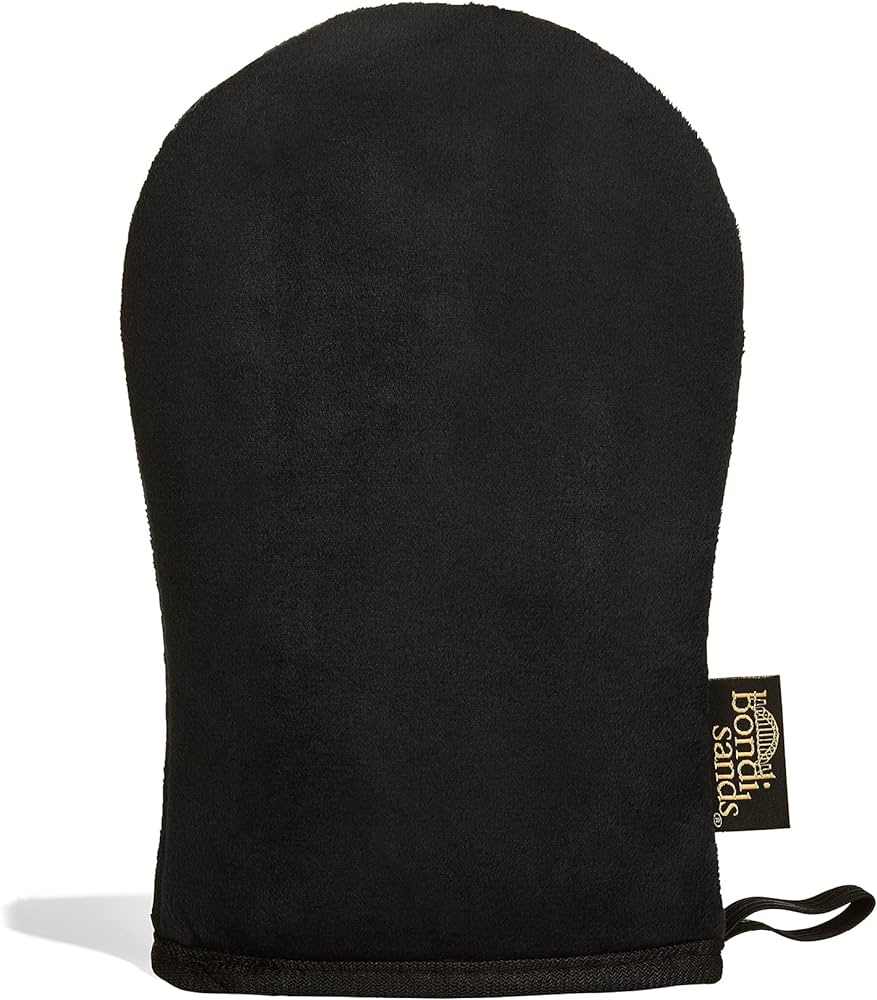
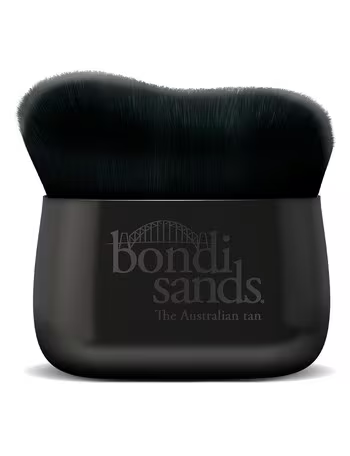
I always apply my tan with a mitt, preferably a velvet touch one as I find they don’t soak up as much product as sponge ones do and they apply smoother and faster. For areas such as your hands, feet and ankles it is best applied with a brush.
Mastering Your Application – The Face
I like to apply my face tan before my body so it can be developing at the same time as my body. I’ve tried all sorts of face tans in the past from using the same body tan (which I wouldn’t advise as it can break you out!), spray mists, gradual moisturisers and tanning drops. My preferred choice is face tanning drops as I find they’re great to customise the level of tan you want. I mix 1-3 drops in with my chosen moisturiser depending on how deep I want it. As my face tan starts to fade through the week I’ll touch up a couple of days later. I’ll link my favourite one below!
TIP: Don’t forget to wash your hands thoroughly to avoid orange palms!
Mastering Your Application – The Body
When it comes down to the actual application of the product, whether that be a spray, a gradual moisturiser, a foam or a gel, the application may vary slightly but I generally follow these same steps and I’m good to go!
I like to work in sections, starting with my legs first working from top to bottom. Then moving on to my body, arms, back and leaving hands and feet until last. I apply the product directly onto the skin and with my mitt, quickly blend in circular motions first, followed by patting.
For hands and feet, I switch to a brush (see linked above). I go sparingly with this as I find for some reason tan takes to my hands and feet the most. I first pump a little amount onto my mitt then load the product onto my brush by swirling and working it into the bristles. Blend lightly in swiping and circular motions for even coverage then use a towel to wipe over palms, knuckles, ankles to remove excess product.
TIP: Make sure you apply tan in good lighting or in view of a mirror to make sure you cover everywhere! For hard to reach areas like your back, put the mitt on backwards and use the back of your hand to blend (takes some practice but saves you having to rely on someone to do your back for you!)
Drying/Developing Time
One thing about me is I hate sleeping in tan, the stickiness and the stained bed sheets are a no from me! If I have timed it well enough and used my ride or die St Tropez Express Mousse (used in images seen in this post), I prefer to apply my tan on an evening when I know I’m going to be able to relax on the sofa for a couple of hours whilst it develops, or through the day when I don’t plan on leaving the house. I say this because it is an instant tan that can look a little crazy before washing off! If I don’t have the luxury of drying time I’ll opt for a gradual, non transfer tan that I can apply, get dressed and go about my day whilst it develops.
Once I’ve applied my tan and it has dried down a little, I will put on the baggiest t-shirt and loose pj bottoms/shorts I own (I actually have a dedicated tanning outfit which you might have seen on my instagram stories in the past!). Emphasis on loose clothing that you’re not bothered about staining! I like to leave my tan on between 1-3 hours, depending on the tan and my desired shade before showering off. The longer you leave it the deeper it will be.
Rinsing Off
If you’re using a tan that requires rinsing (like the St Tropez Express Mousse), and are ready to reveal your golden bronze self, I’d advise using luke warm water in the shower as opposed to hot! Water that’s too hot I find can mess with the tan and dry the skin out faster, ultimately effecting your results and after all the effort you’ve just put in we don’t want that! Same goes with baths, they can cause tan to fade quicker.
TIP: I will wash my hands an hour or so before my body so they don’t develop a deeper tan than everywhere else (this is if using a tan that requires washing off).
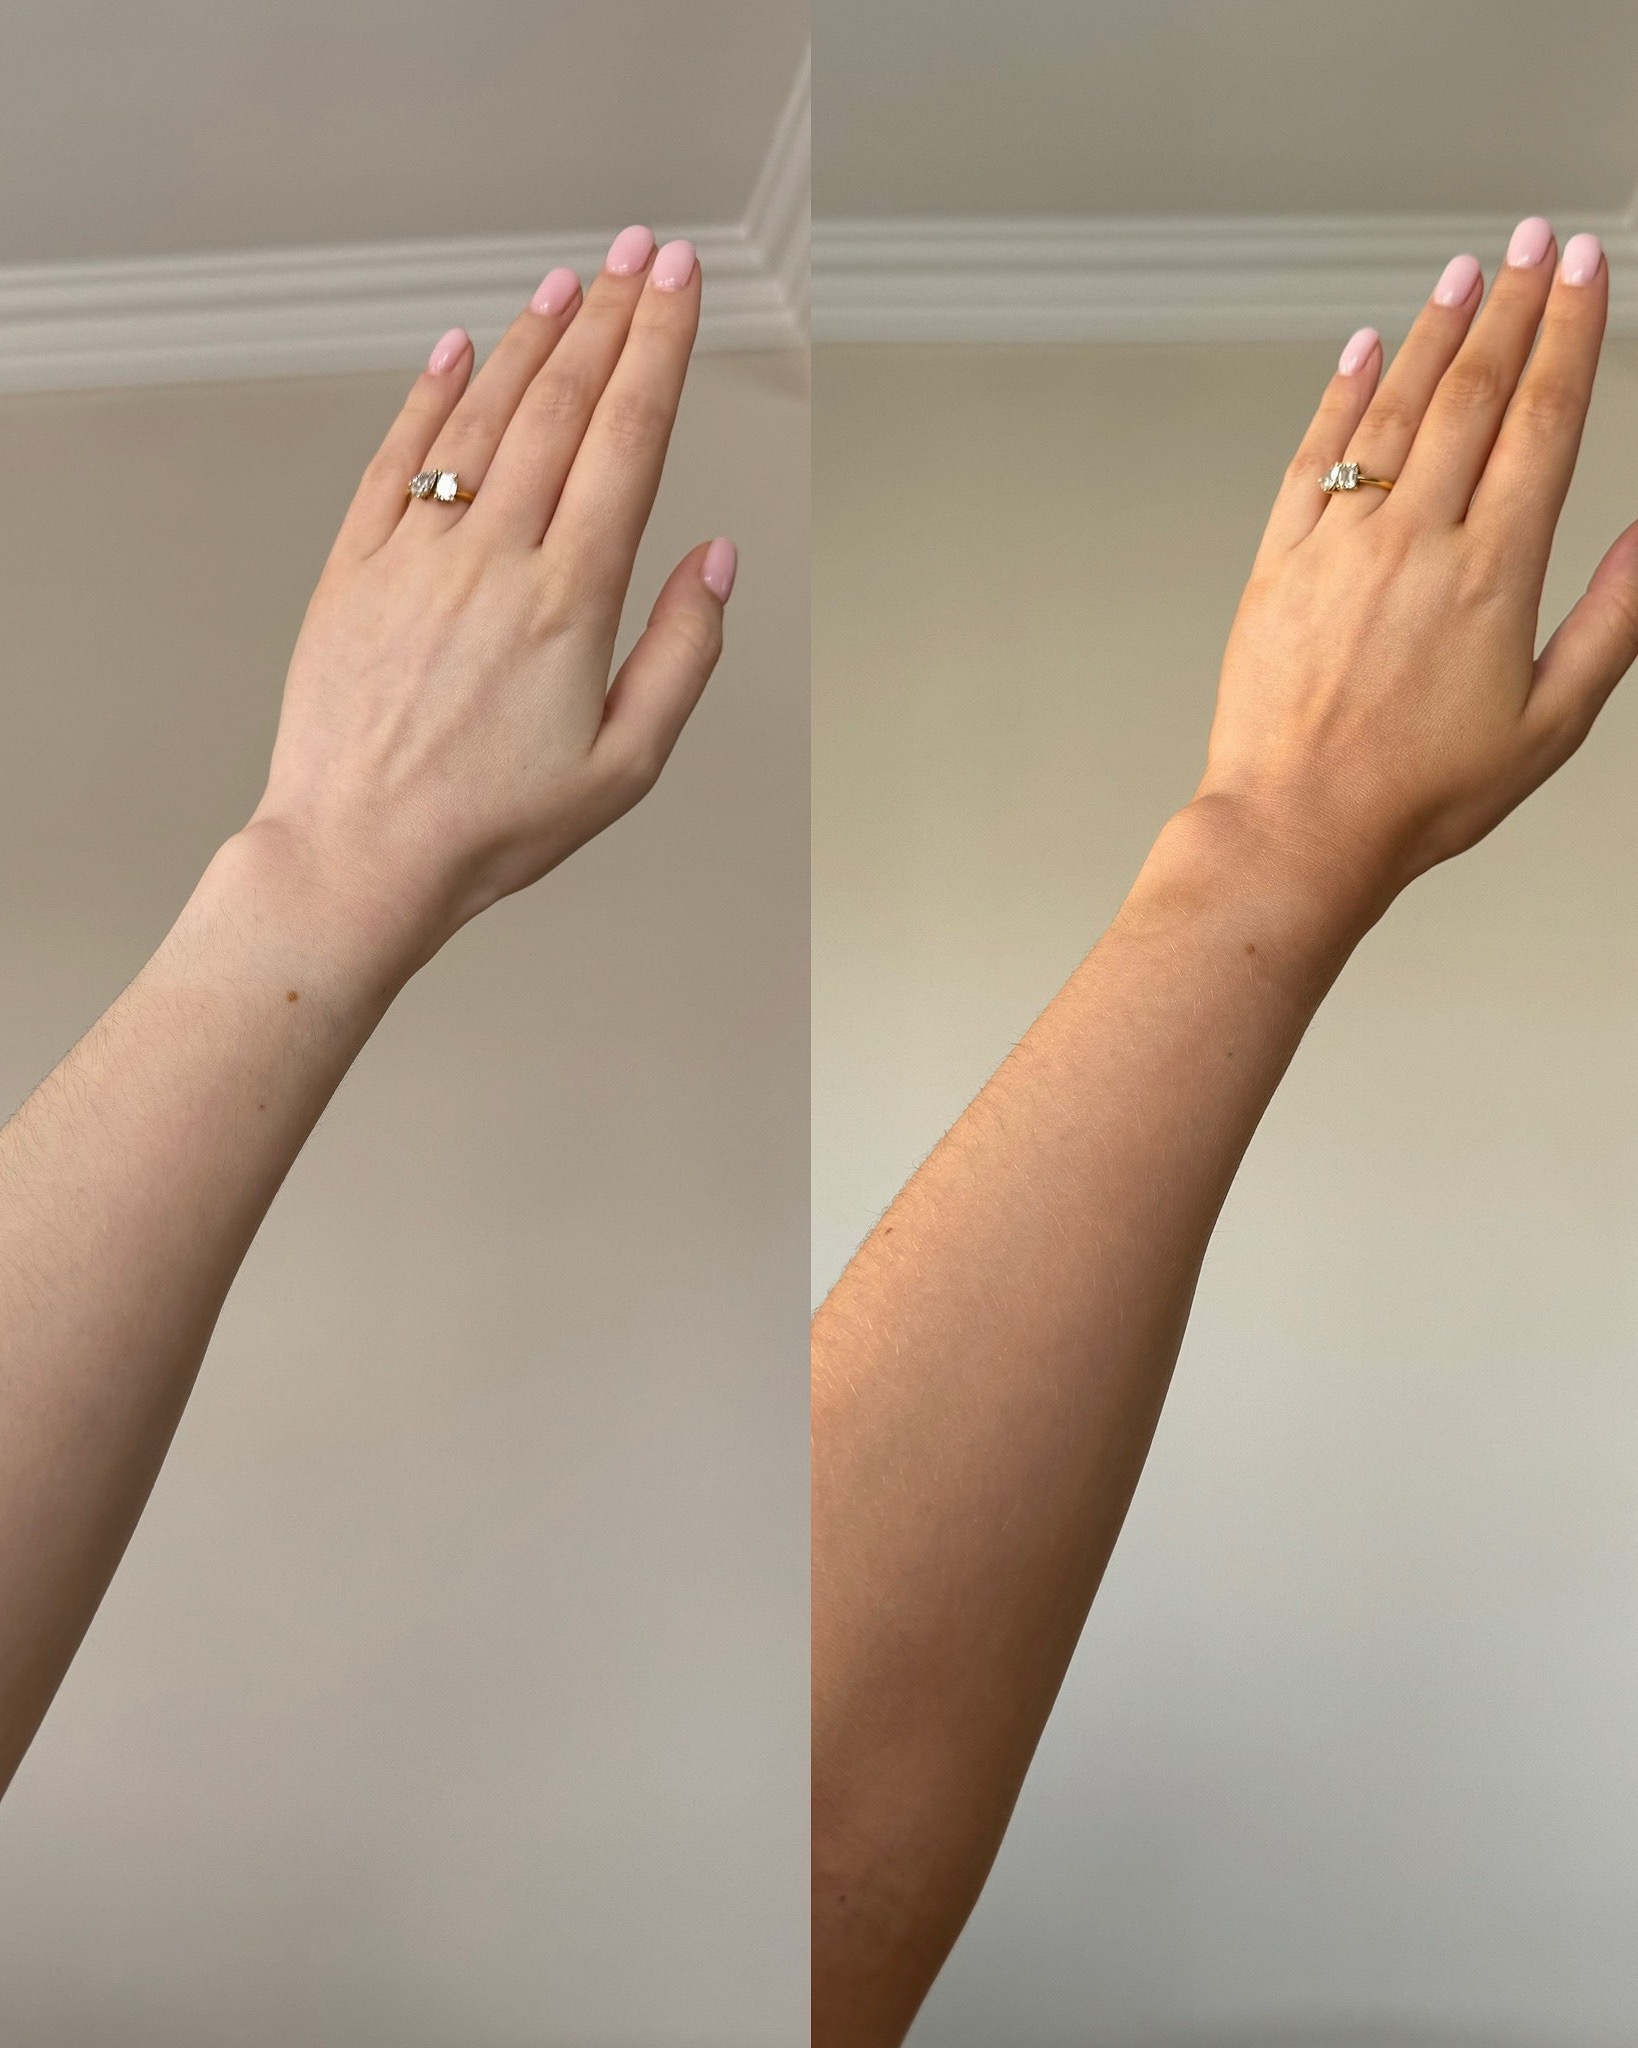
Above image shows before & after using St Tropez Express Mousse.
Maintenance – Don’t Skip Moisturiser!
Now you should have yourself a lovely natural looking tan, you want to keep hold of it as long as possible! If applied correctly (and depending on the tan used) it should last you 5-7 days fading gradually (with the first 3 days looking the freshest!). After each shower you want to be moisturising your body to prolong your tan, helping keep your body nourished and tan fading evenly.
As it fades, if you want to amp it up a little without the effort of the above, a moisturiser with a gradual tan in will do the trick (just don’t forget to wash your hands after applying!). I don’t tend to do this much unless I’m tight for time or on holiday and want a boost as it never quite looks as even or flawless but I’ll link some favourites below.
After about a week I will then repeat the process again and that’s how I keep my tan looking the most even and natural!