


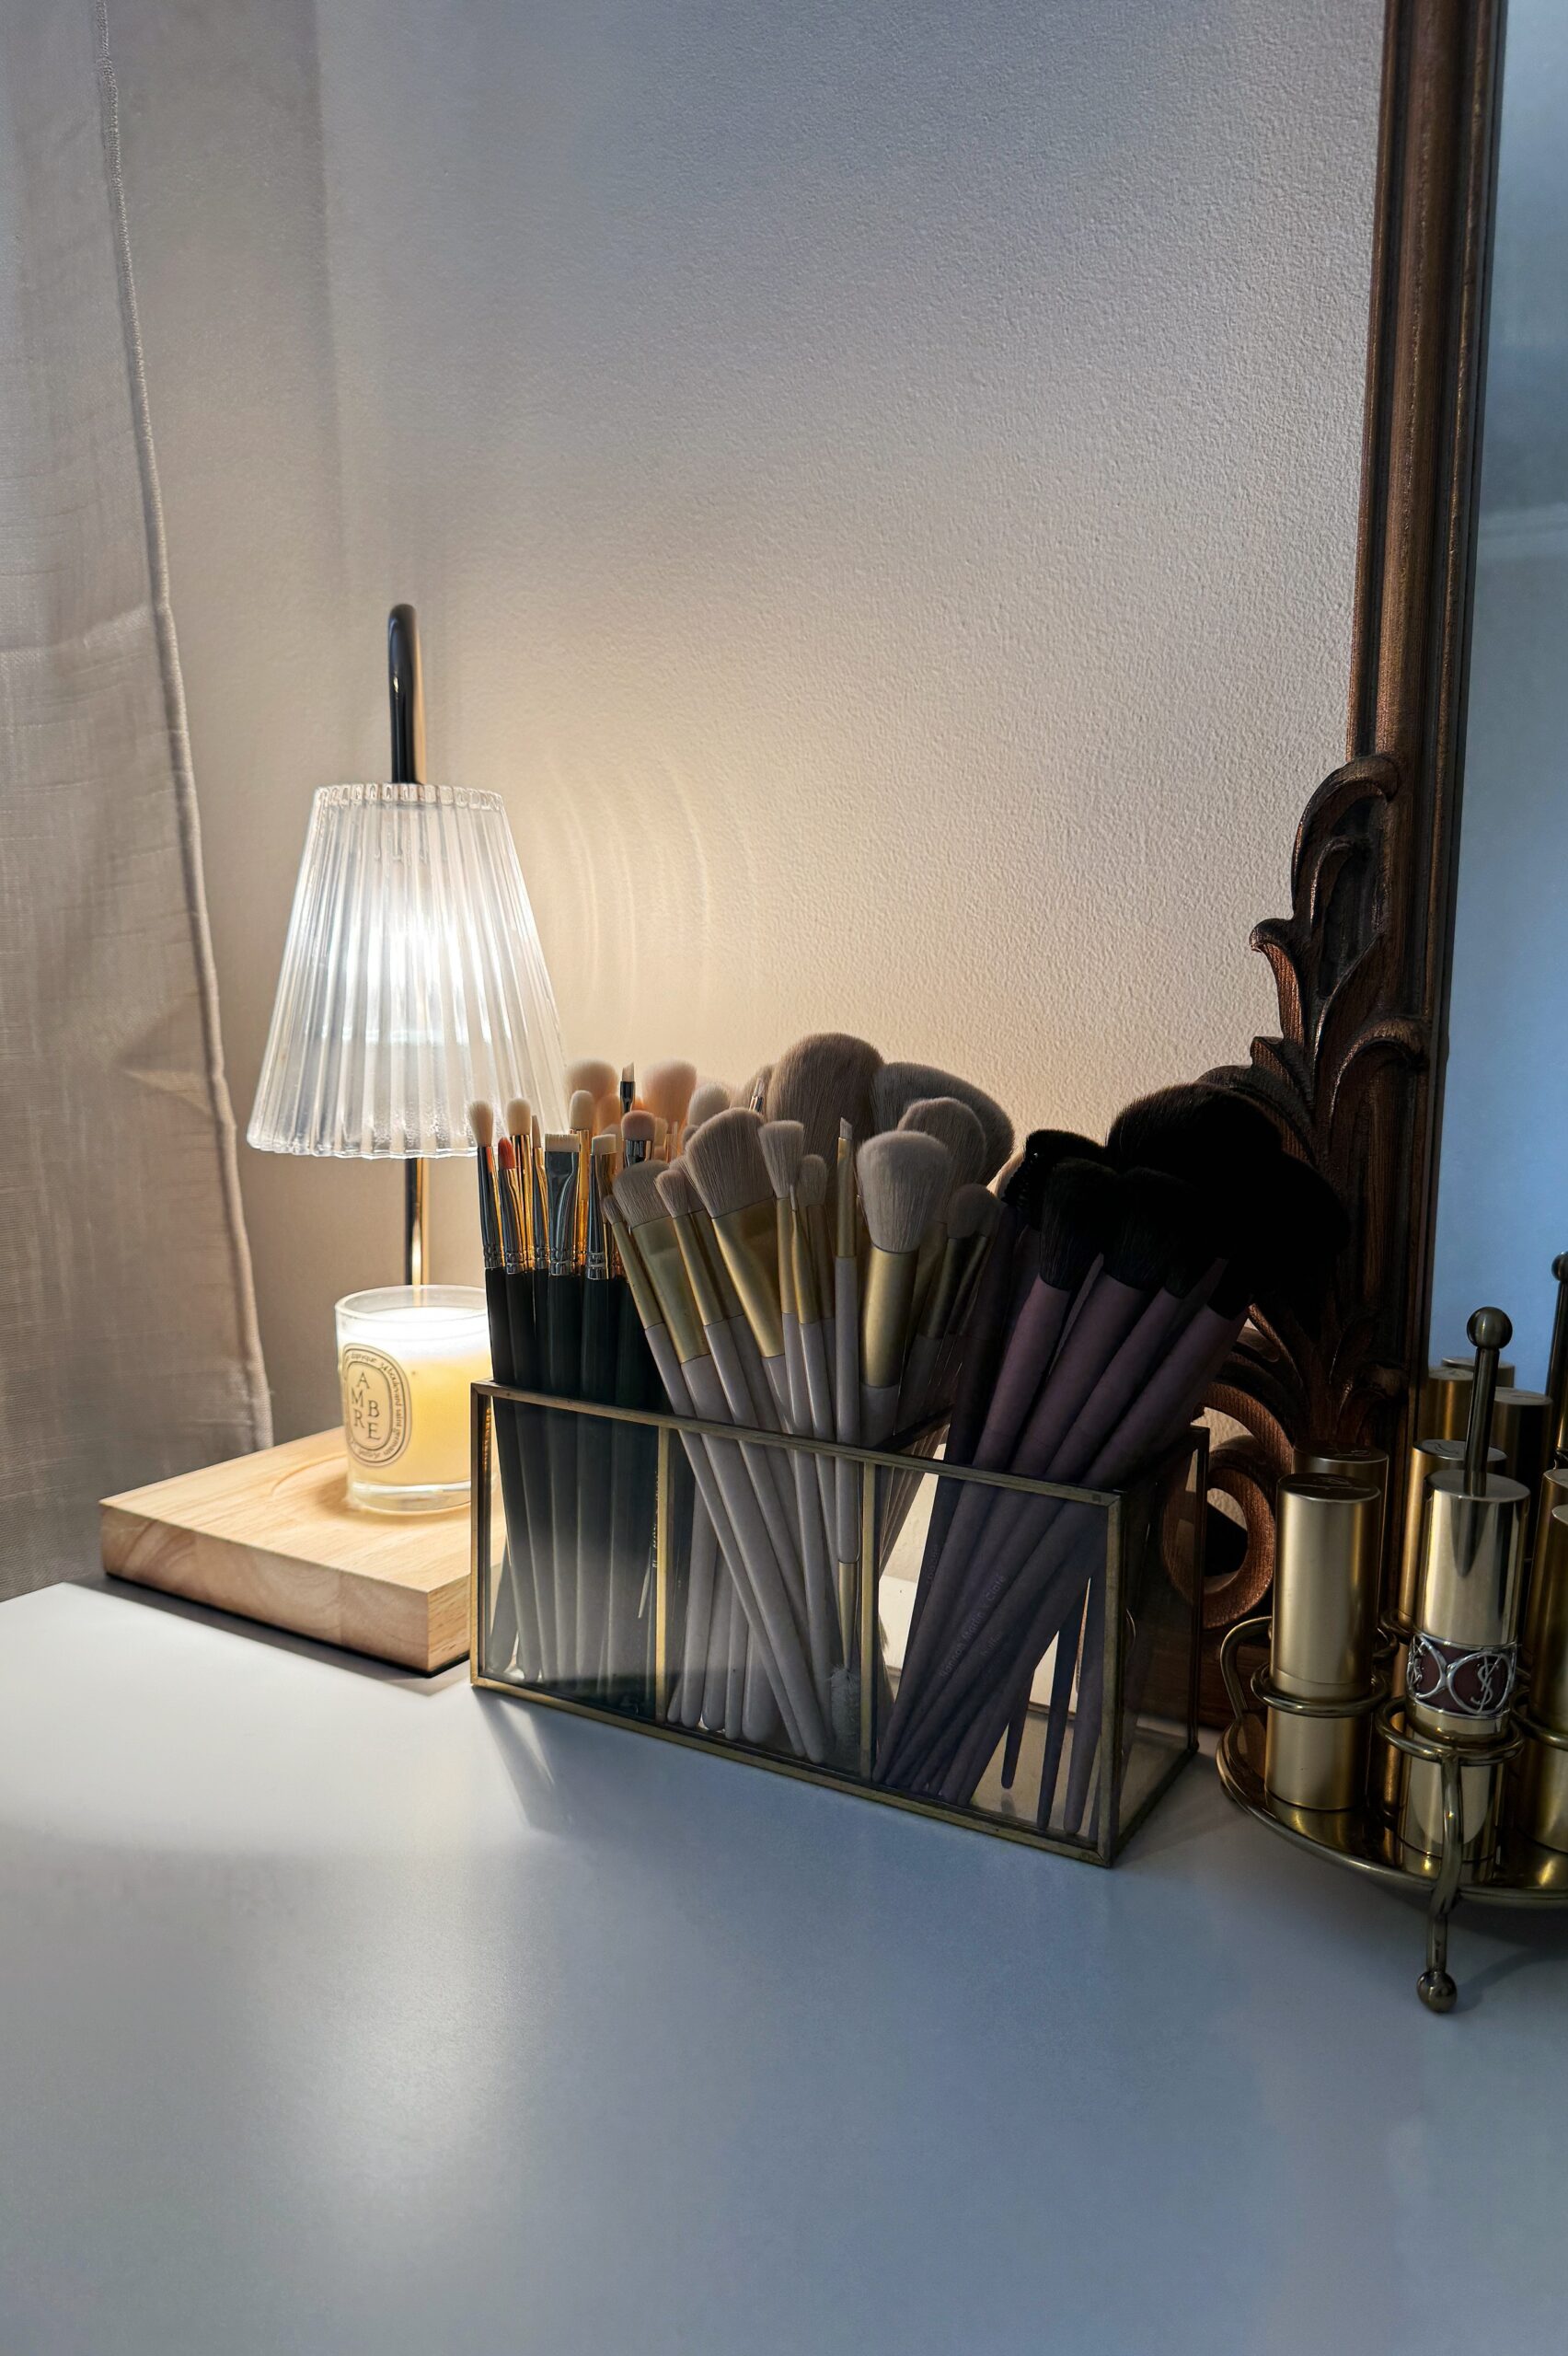
Before you blame your beauty products for breaking you out, think to yourself when was the last time you cleaned your makeup brushes? I know cleaning your makeup brushes is up there with being one of the most mundane chores there is but it is so important to keep on top of as they can quickly become a breeding ground for bacteria. It is recommended to wash your personal makeup brushes once a week. Not only this but if you invest in good brushes and take care of them, they will last you YEARS!
As a professional Makeup Artist you should never use the same makeup brush on two people. If working on more than one client or model I will allocate brushes to each, ensuring they are deep cleaned after the job ready for use again to avoid cross contamination.
Having spent countless hours of my life stood over a sink washing brushes, I’ve put together all of my best tips and recommendations so you can wash your brushes at home like a pro. Trust me, your skin and makeup application will thank you!

This post contains affiliate links. To learn more, click here.
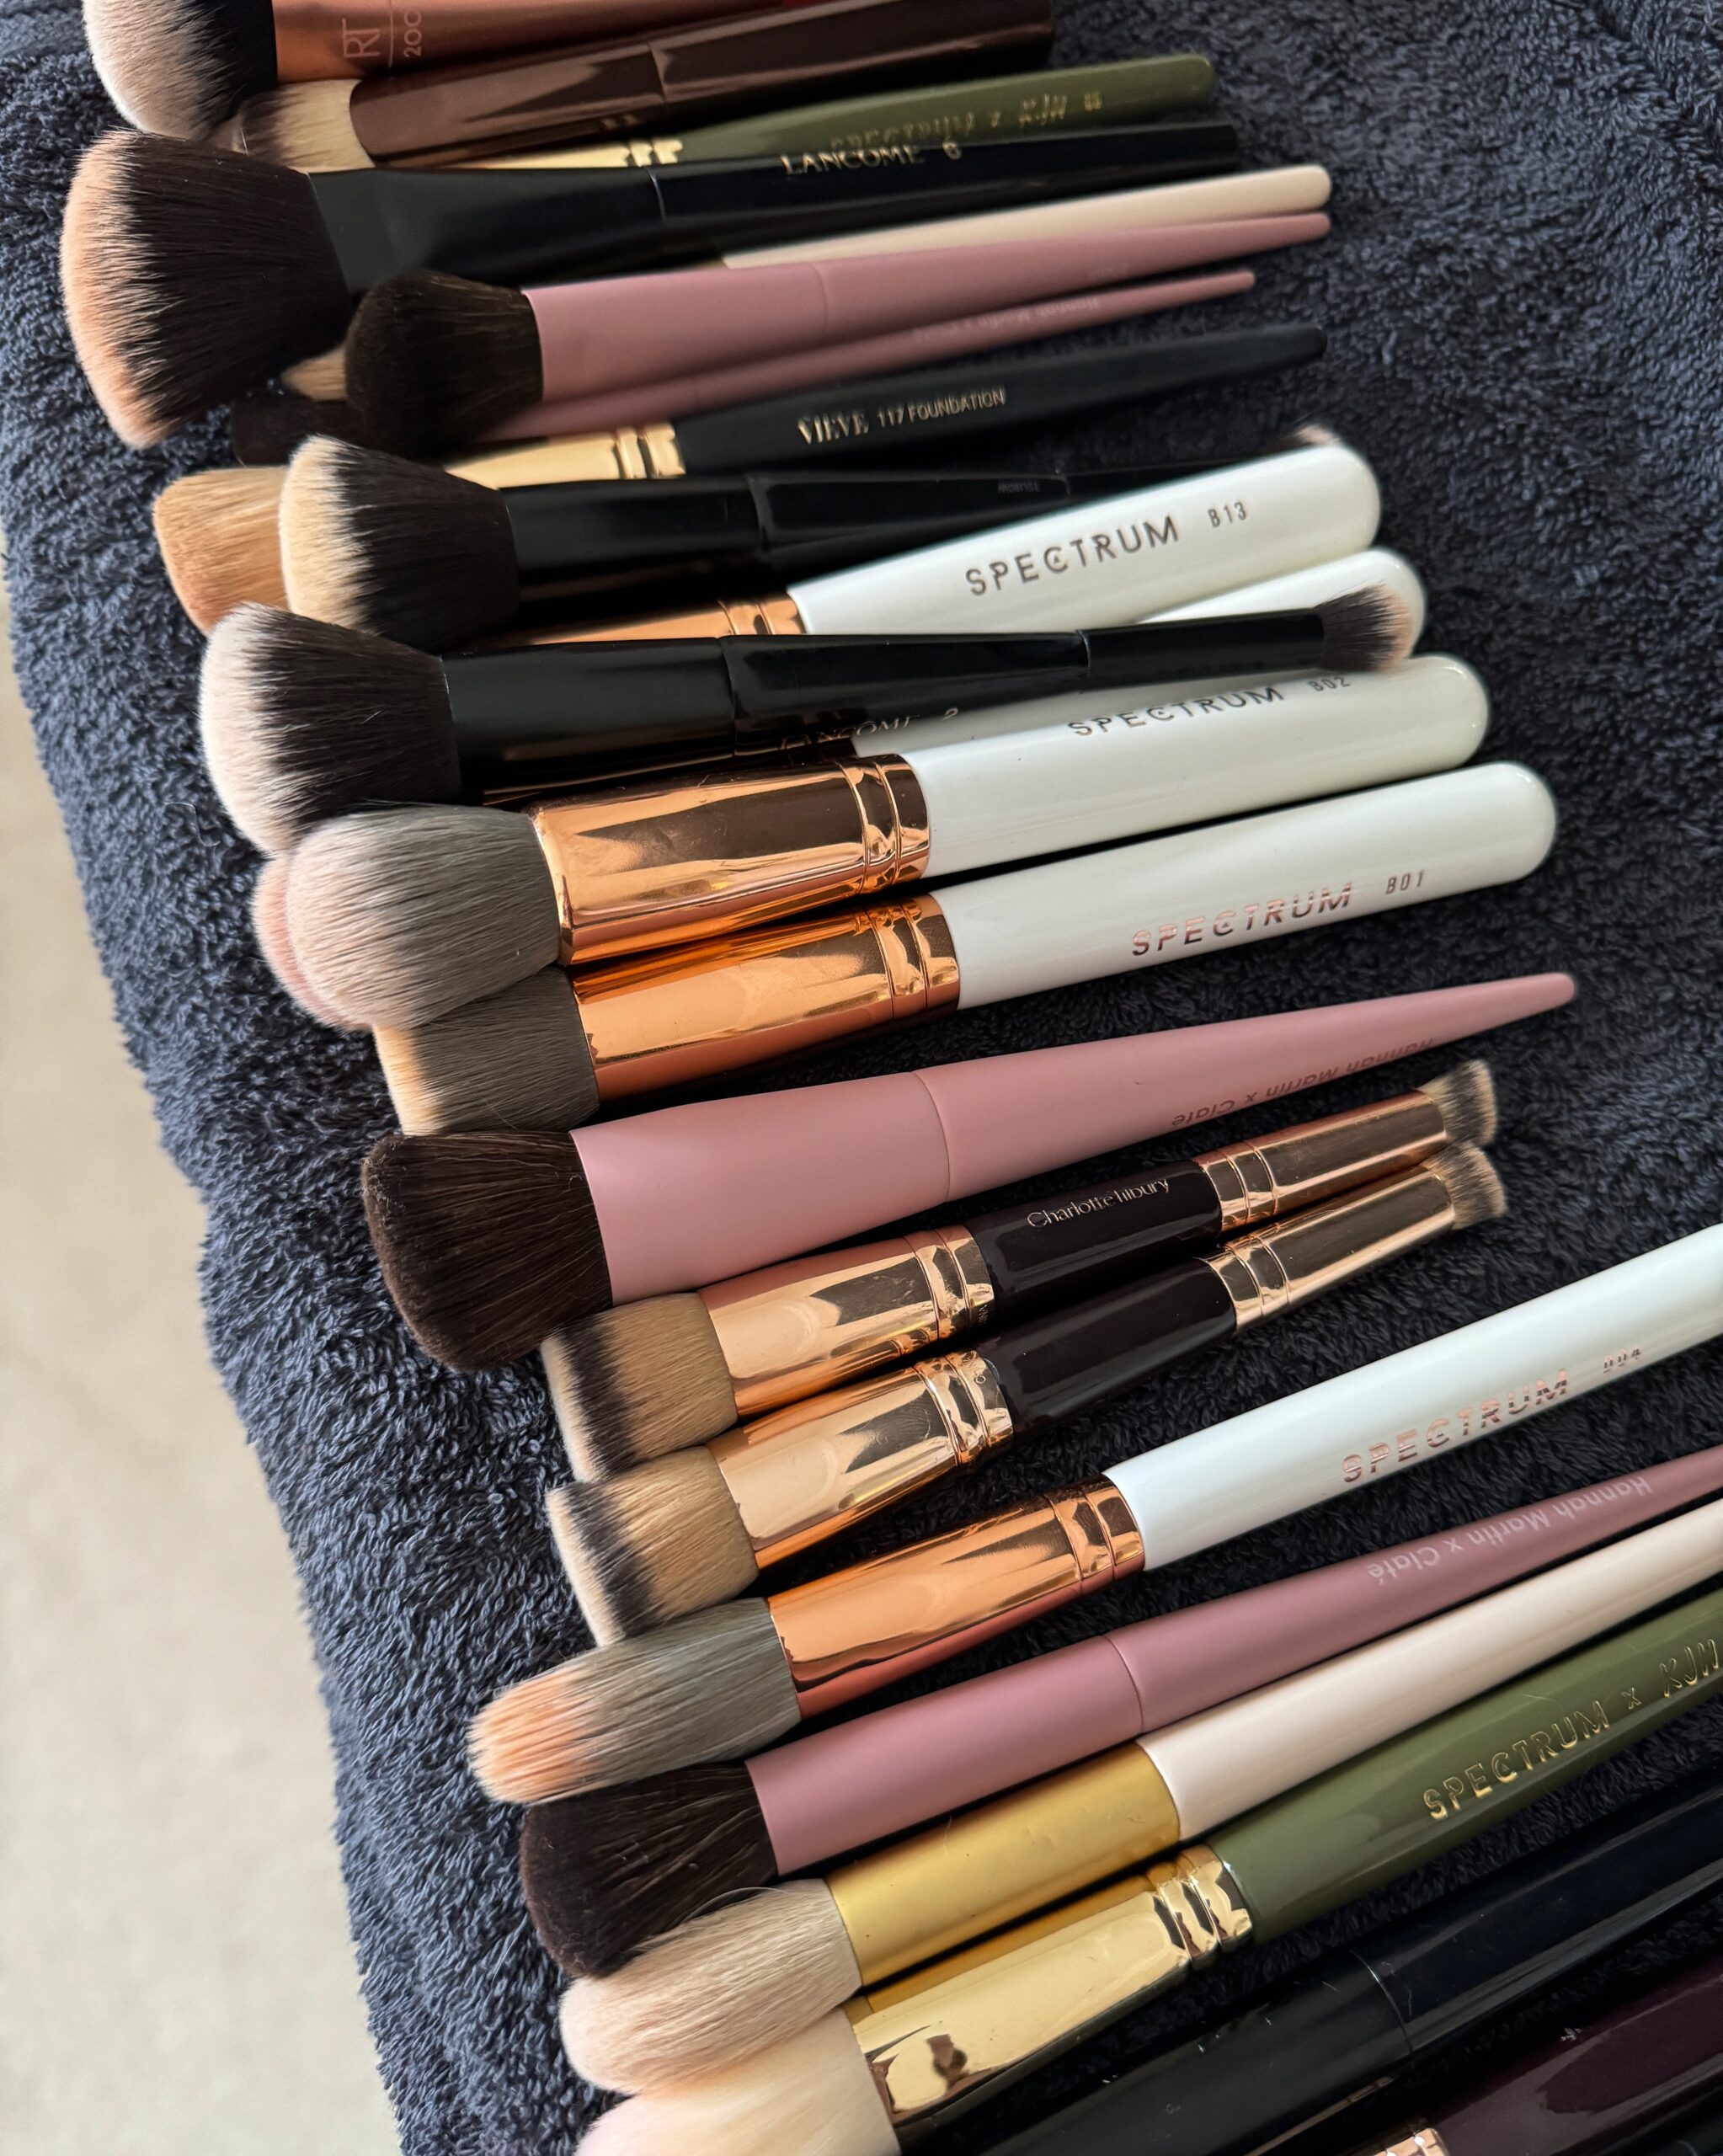
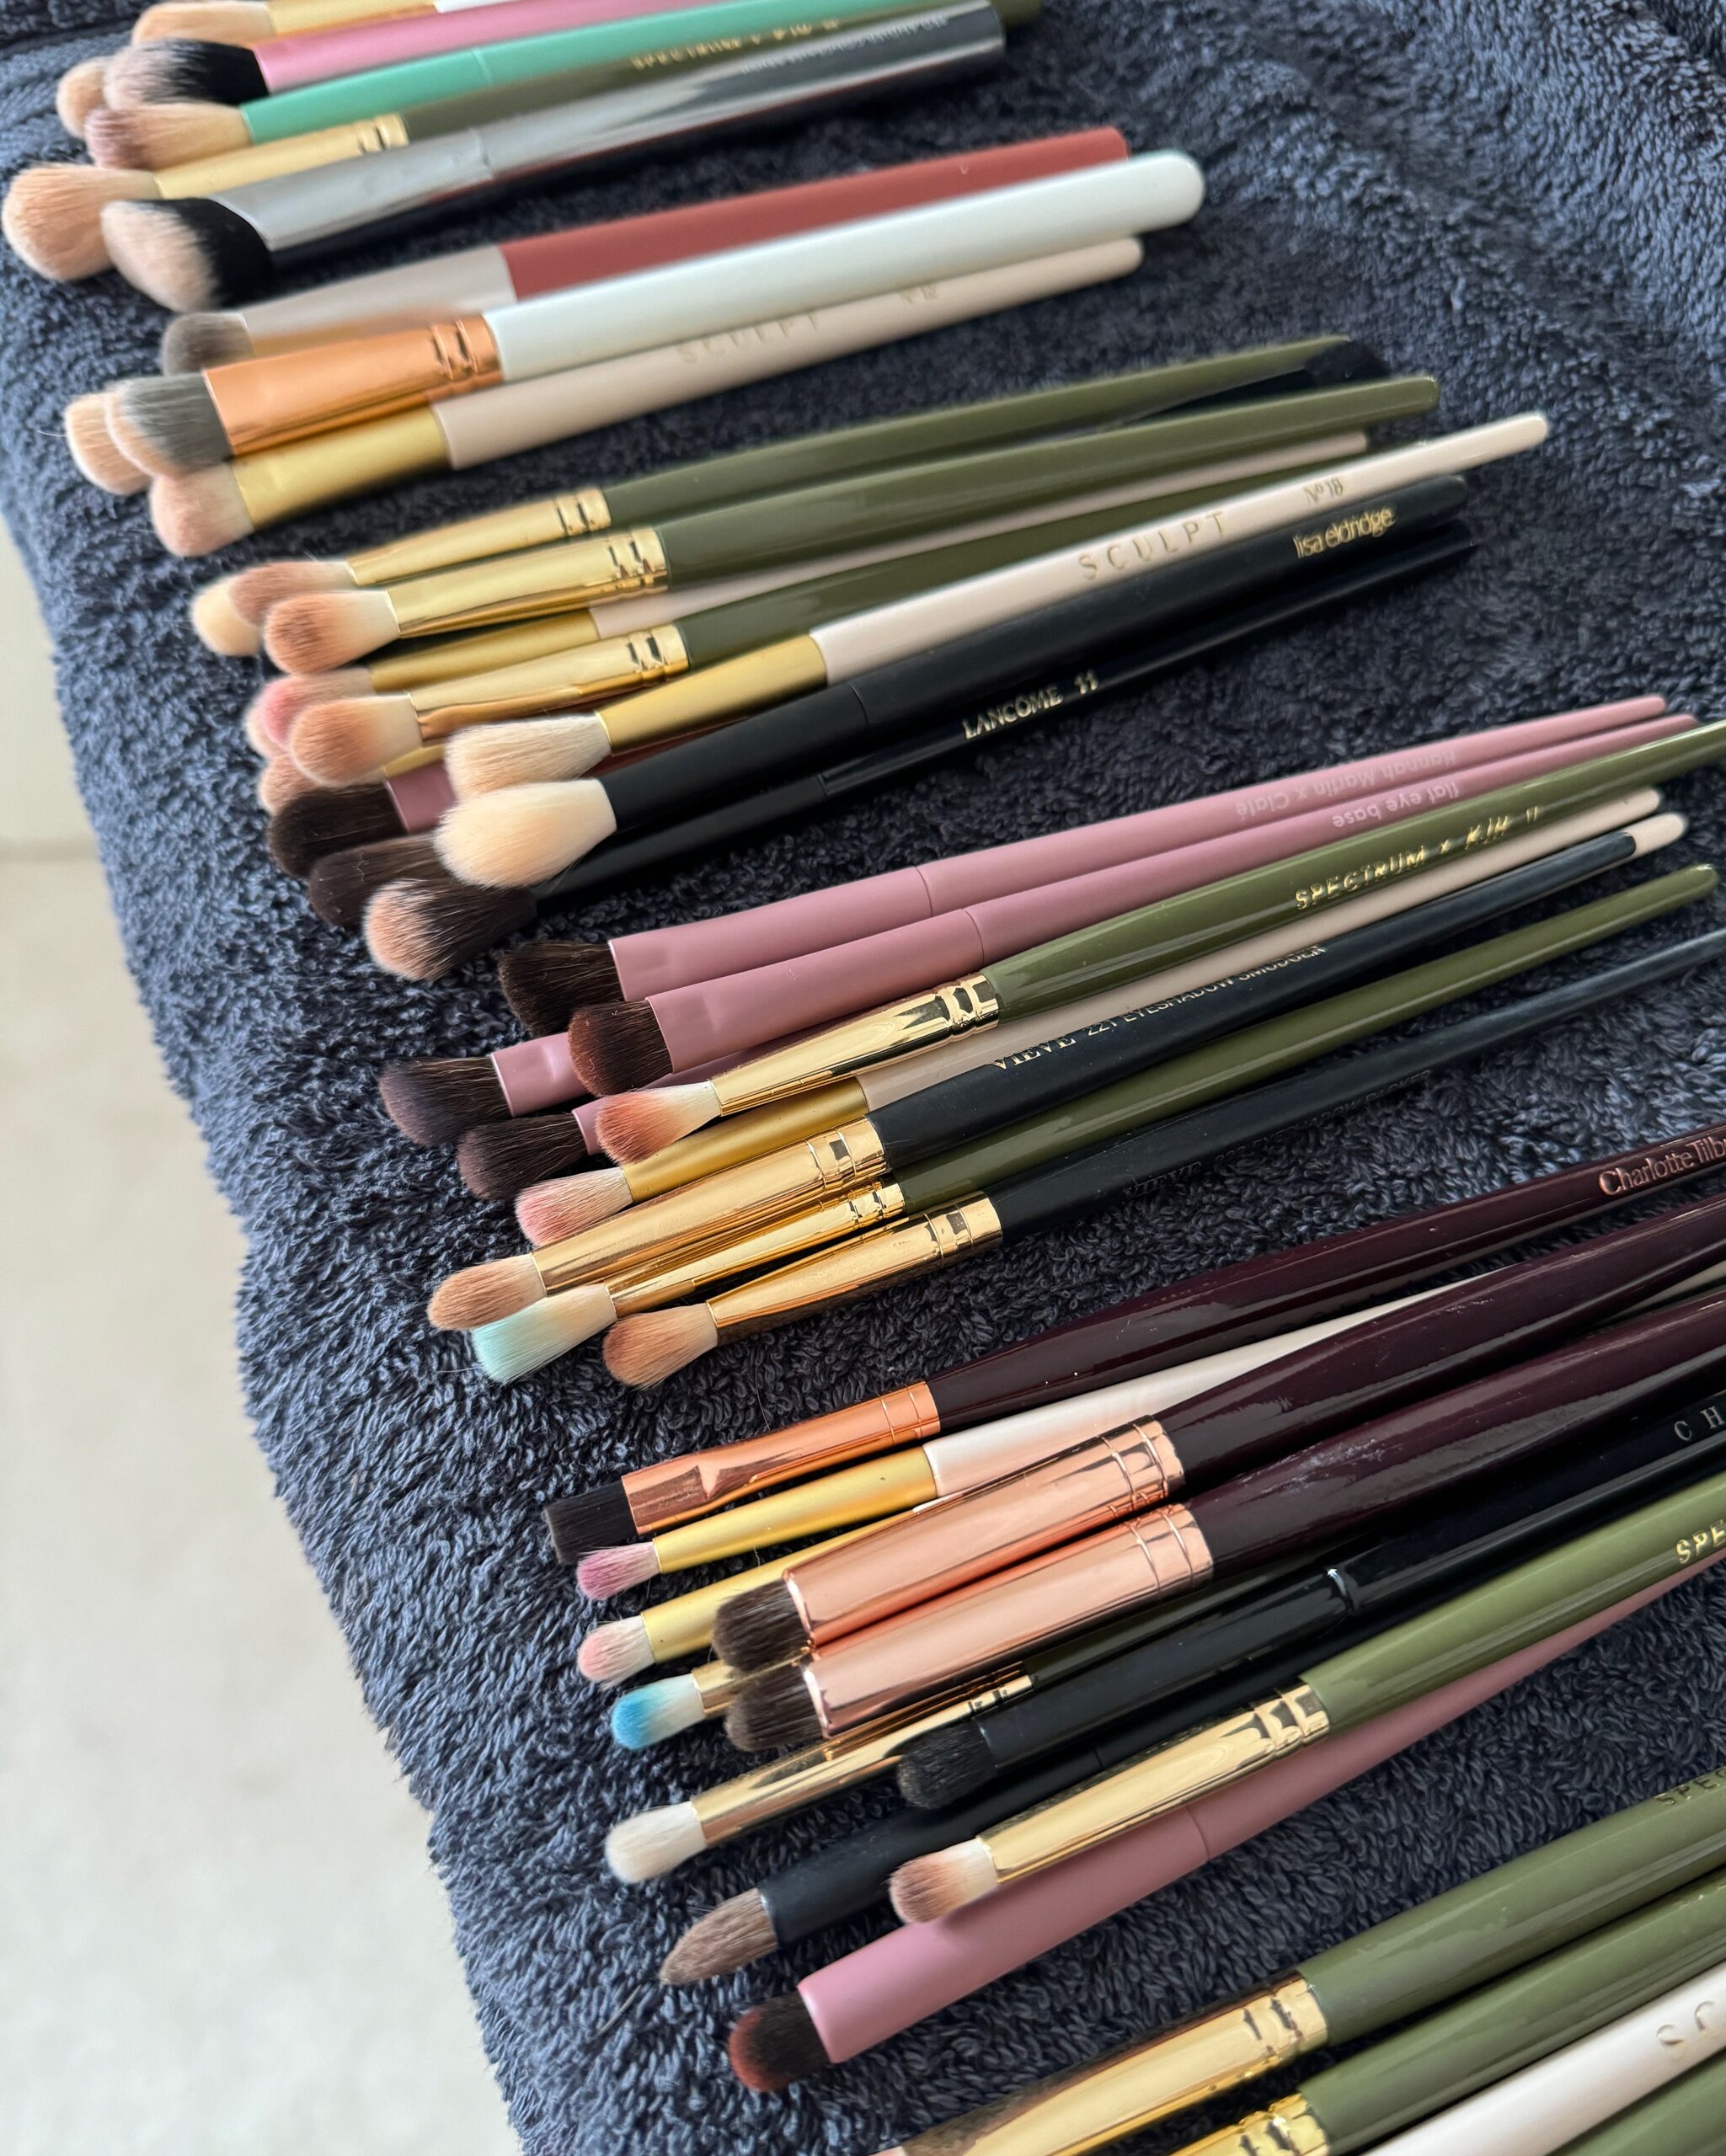
STEP 1 – Gather Your Dirty Brushes
Gather your dirty brushes, if you have a fair few group them into categories of a similar size. I like to group together complexion brushes such as foundation, bronzer, blusher together and smaller brushes like concealer and eyeshadow, detail and lip brushes together.
STEP 2 – Grab Your Tools
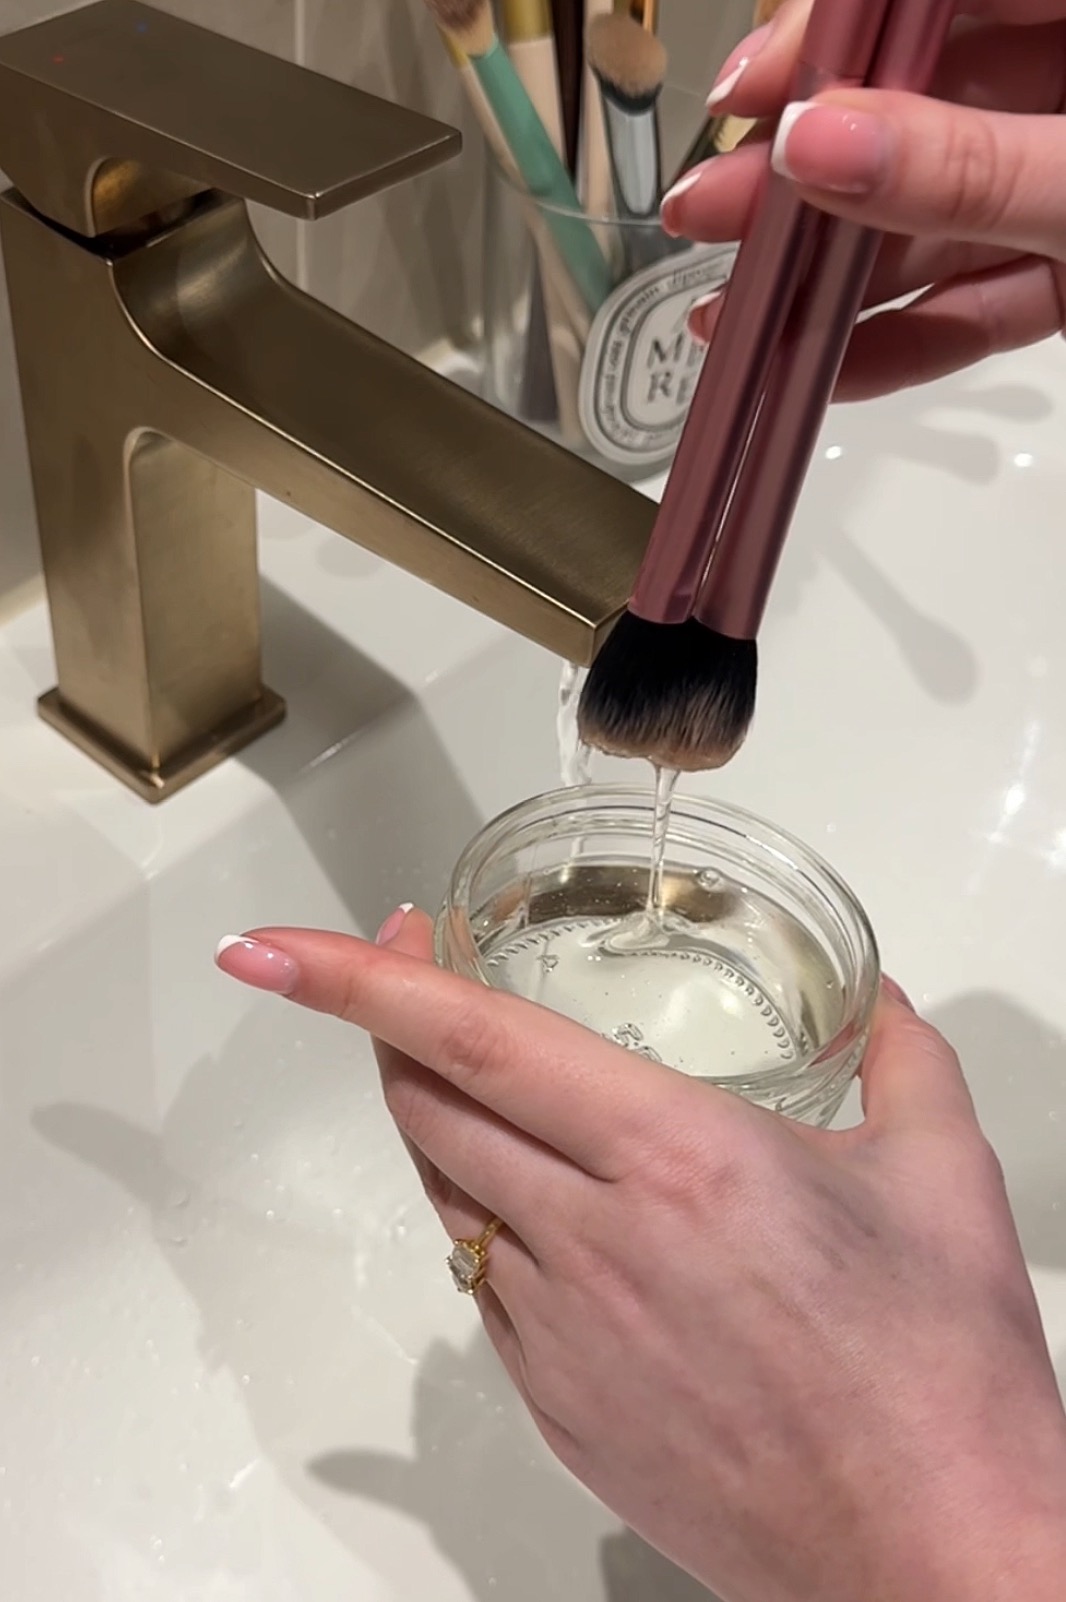
Once you have your dirty brushes, you want to choose your cleaning product. You don’t have to spend tons of money on brush shampoos, soaps or cleansers. Though I am partial to a good brush soap for ease, fairy liquid works just as well (I like the green apple one as it is effective and leaves your brushes smelling nice too).
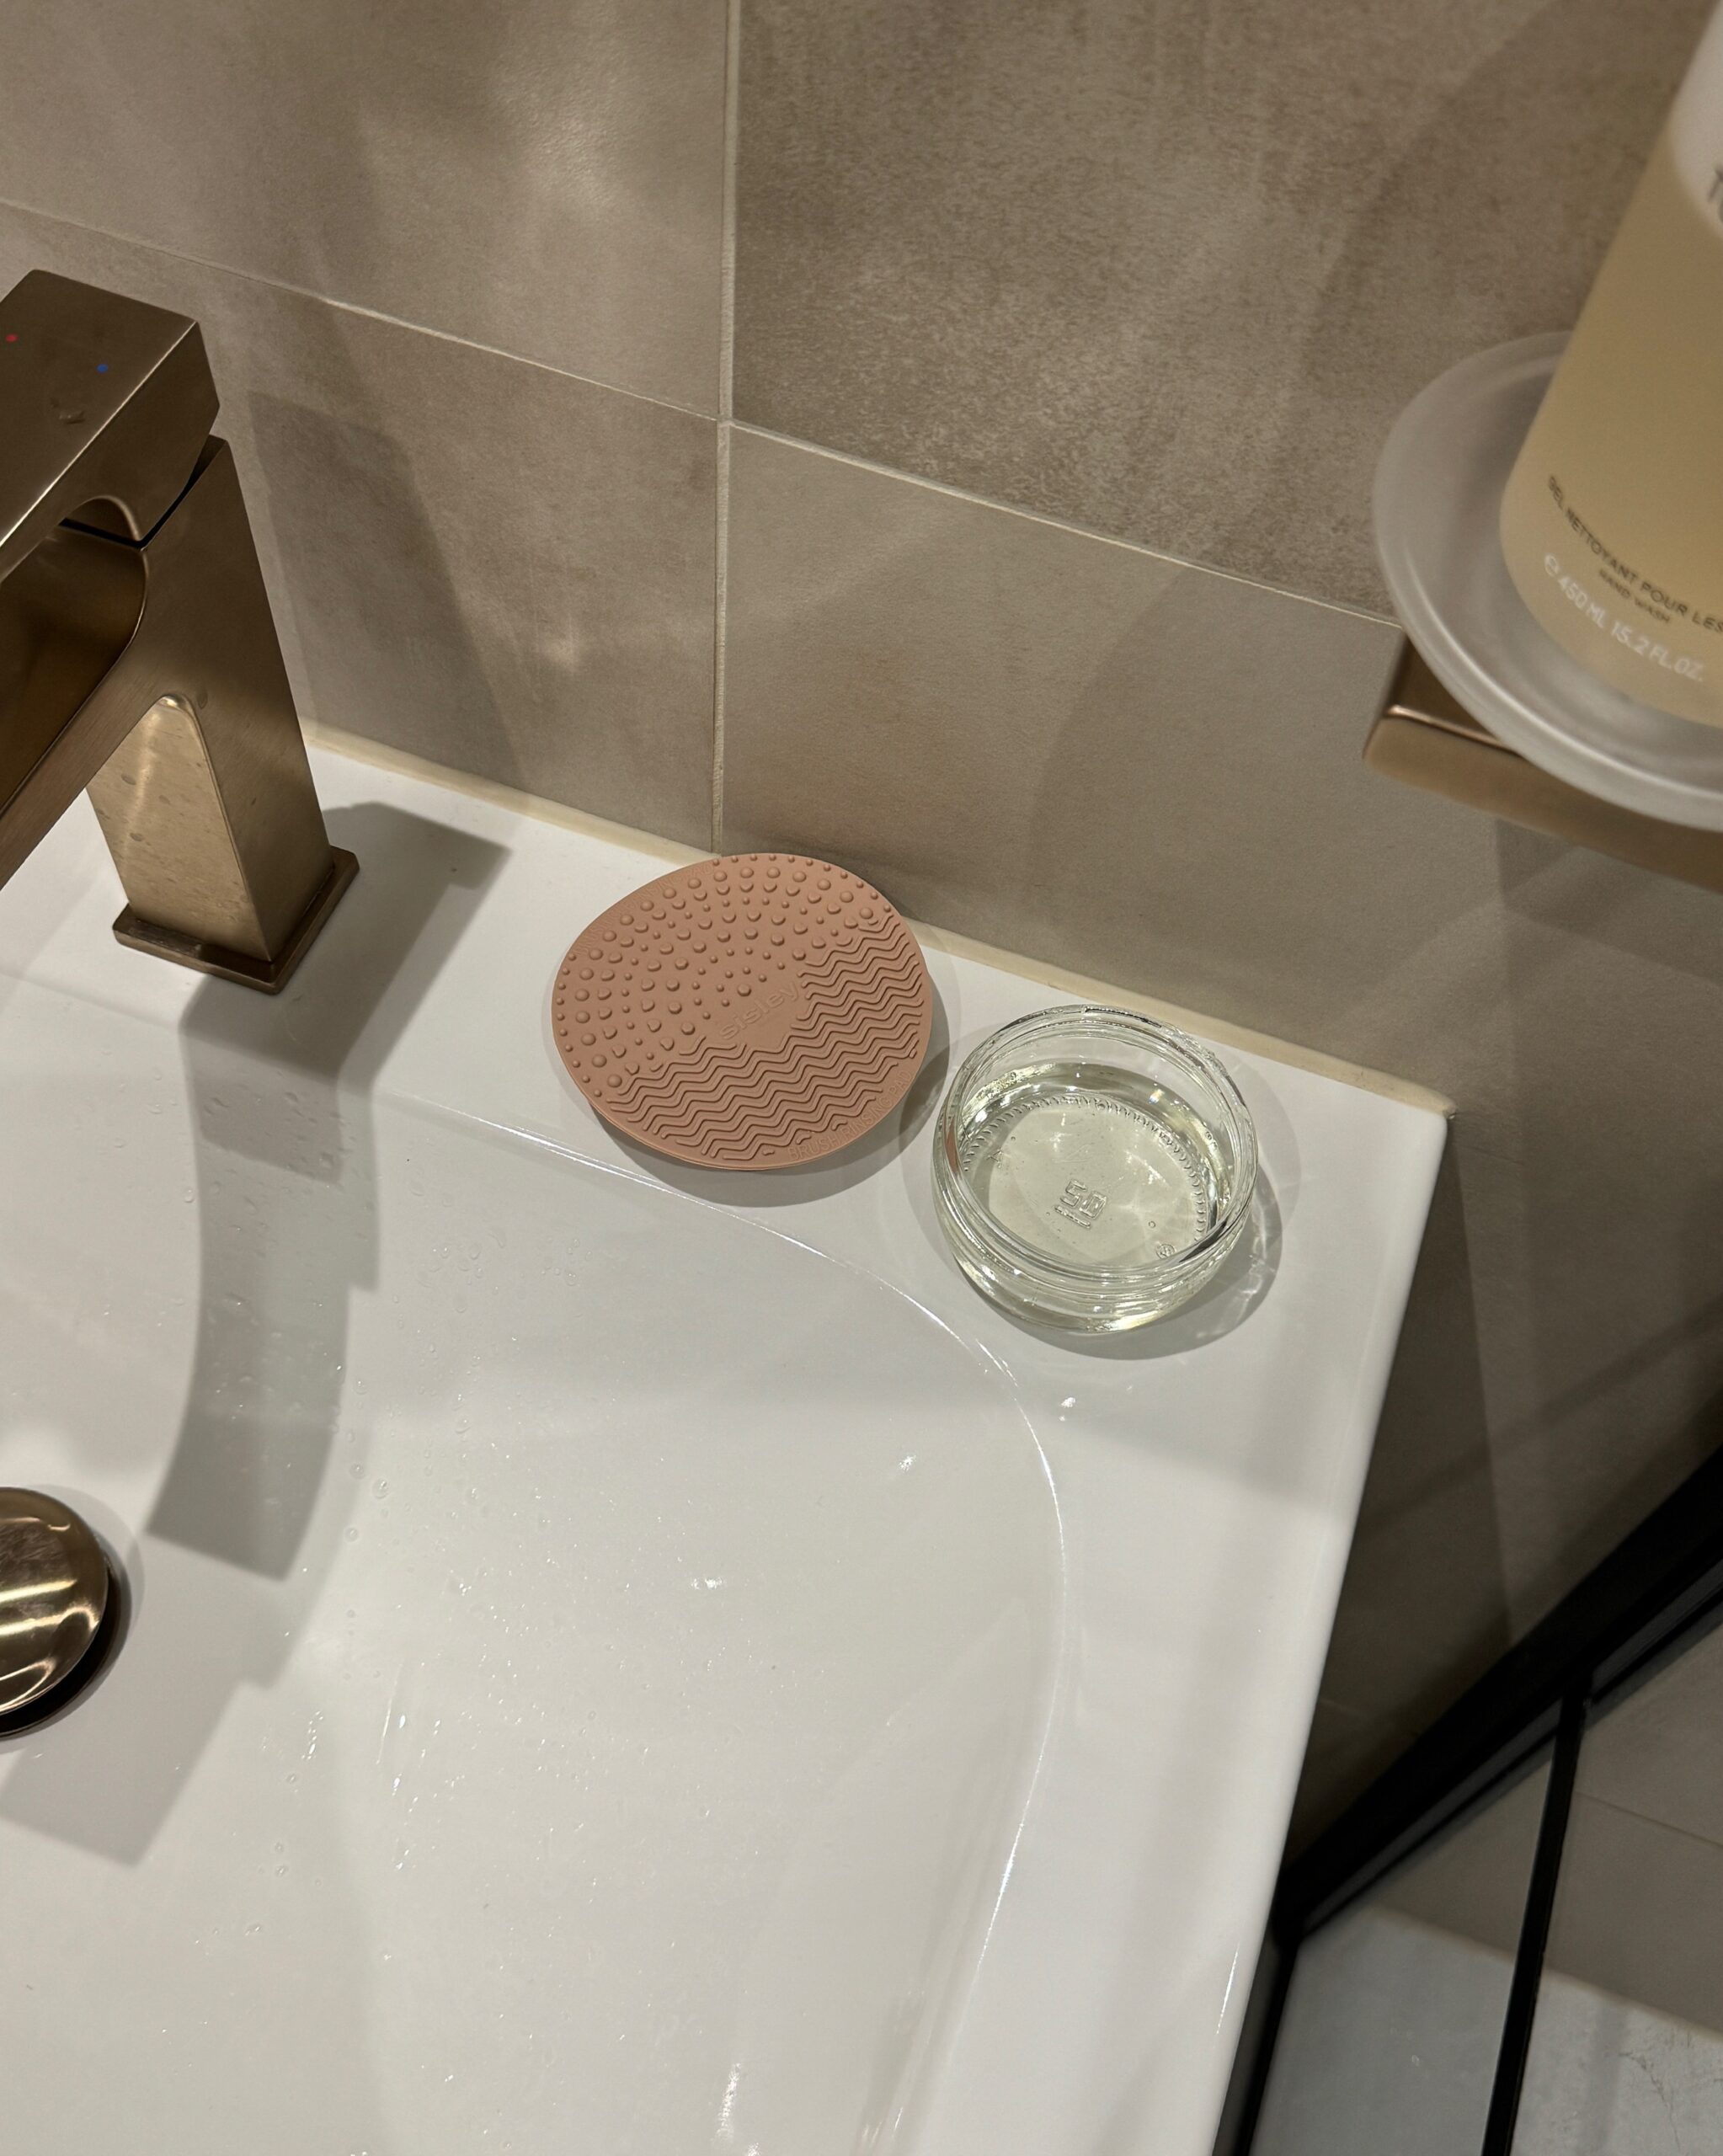
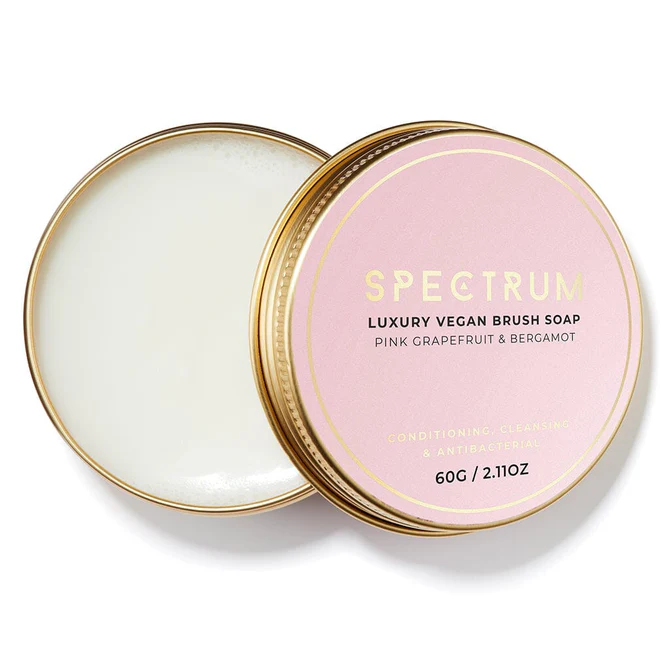
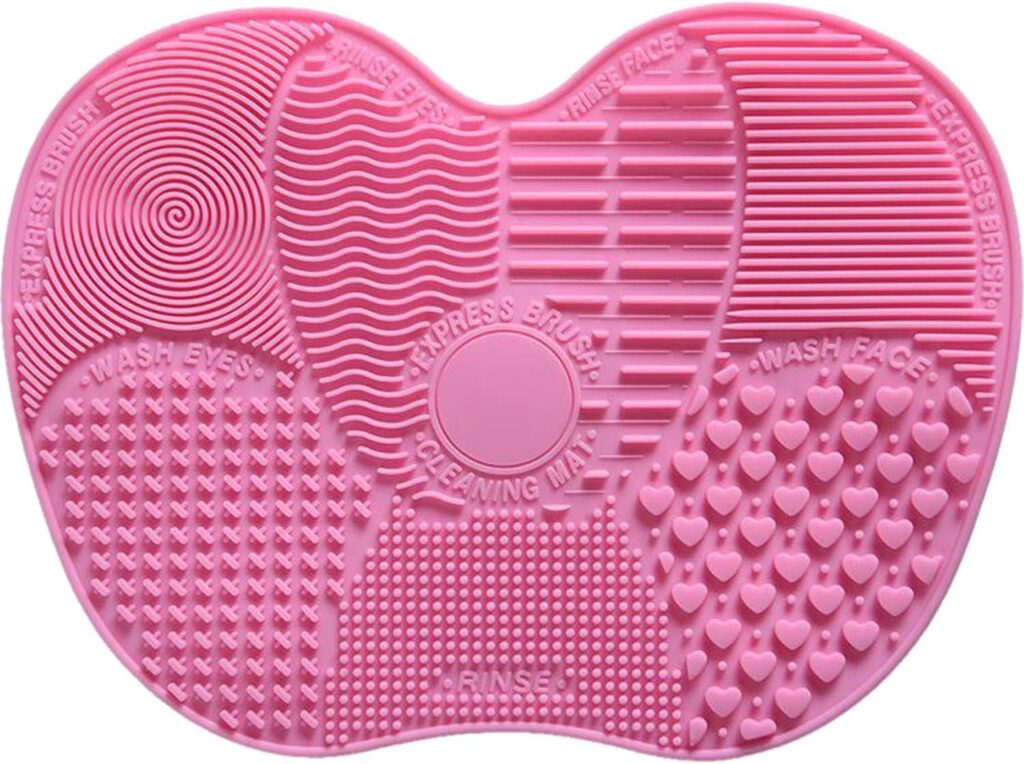
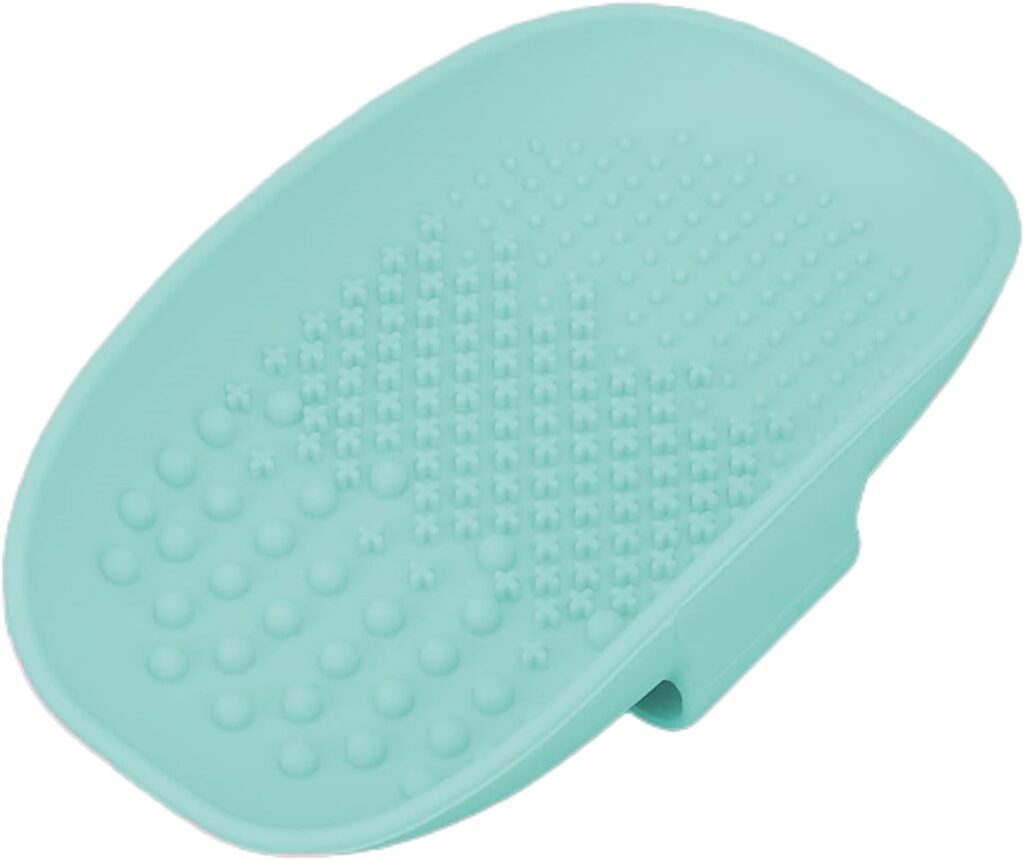
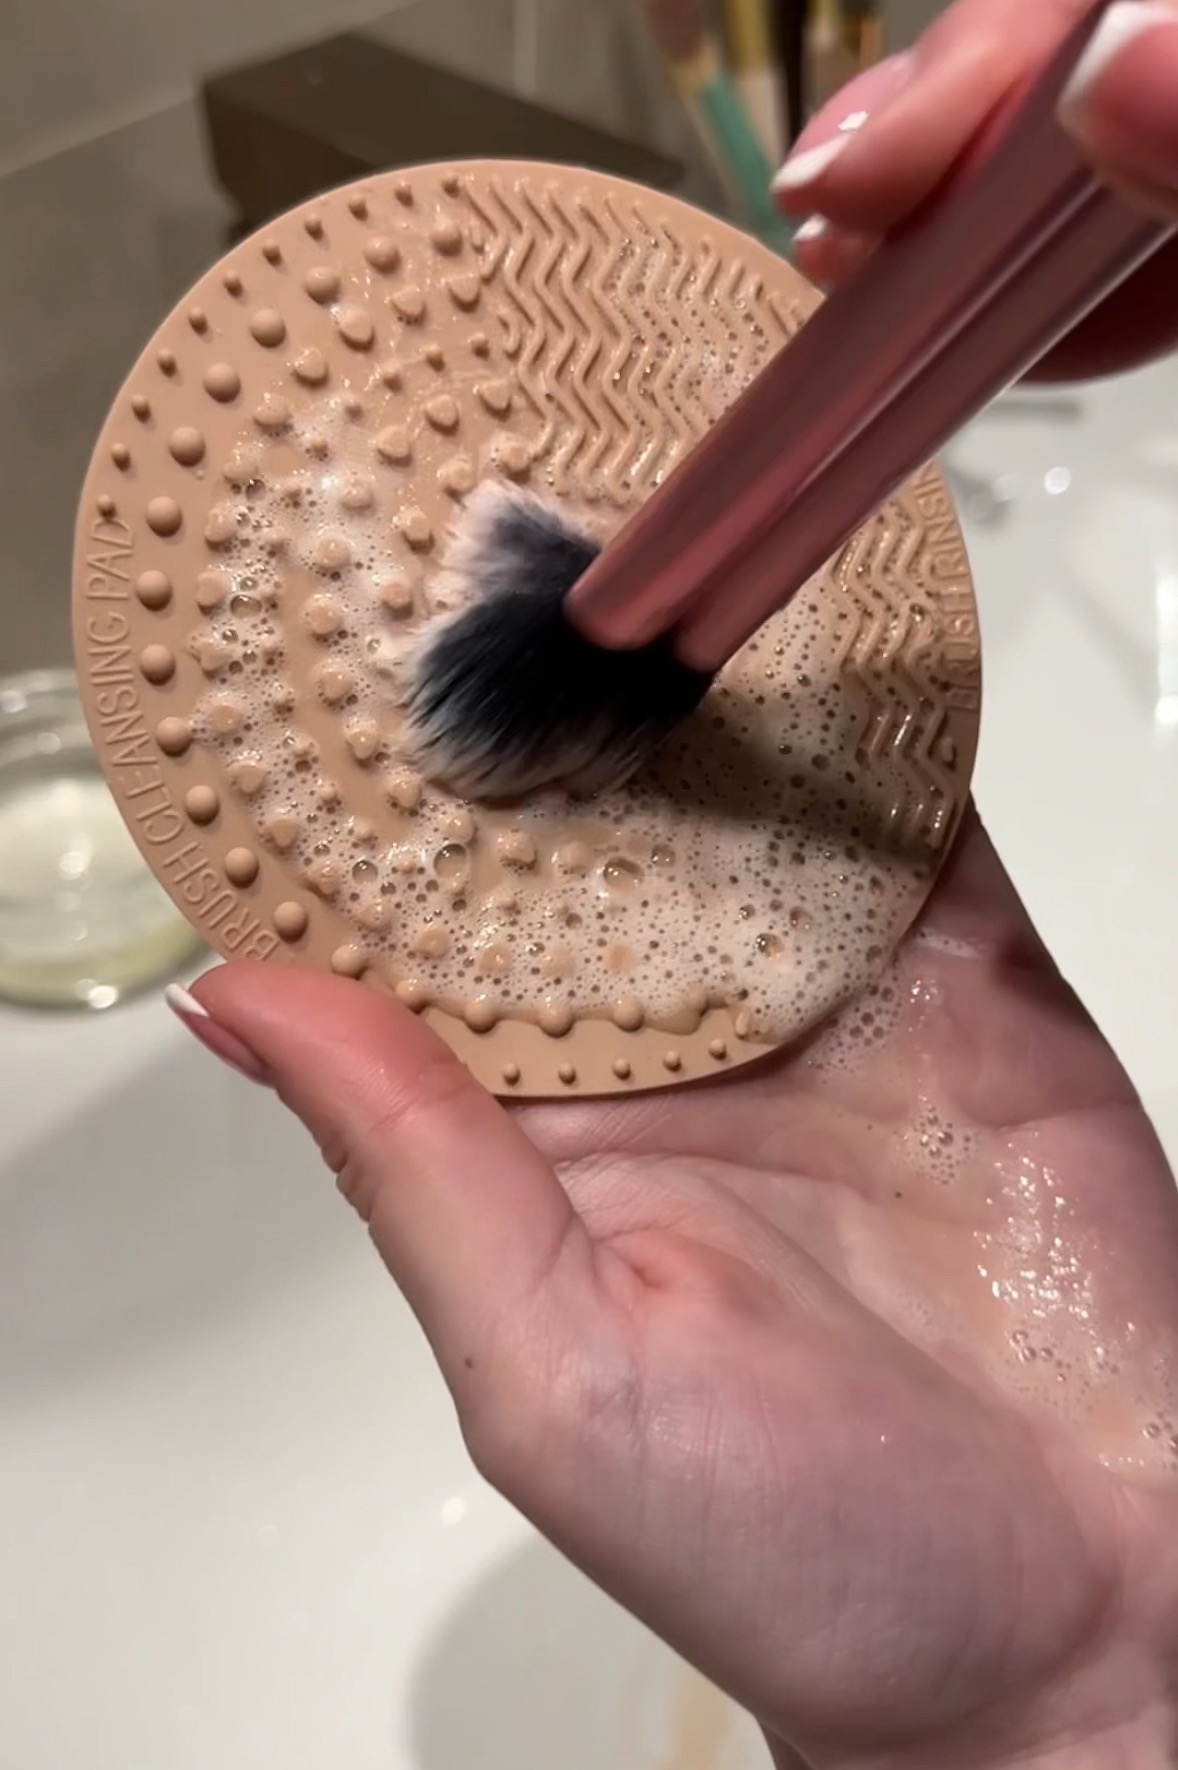
As well as your cleanser of choice, I always use a brush cleansing mat. You could go without but I find they break down the product in the bristles better and don’t irritate your hand as much from all the swirling. These are super affordable and come in so many shapes and sizes. Some options are hand held (my personal favourite as it gives you more control), suction to your sink and some brush soaps even come with them in the lid like the Spectrum one above.
TIP: Keep the lid if it has a cleansing pad in when you run out of product!
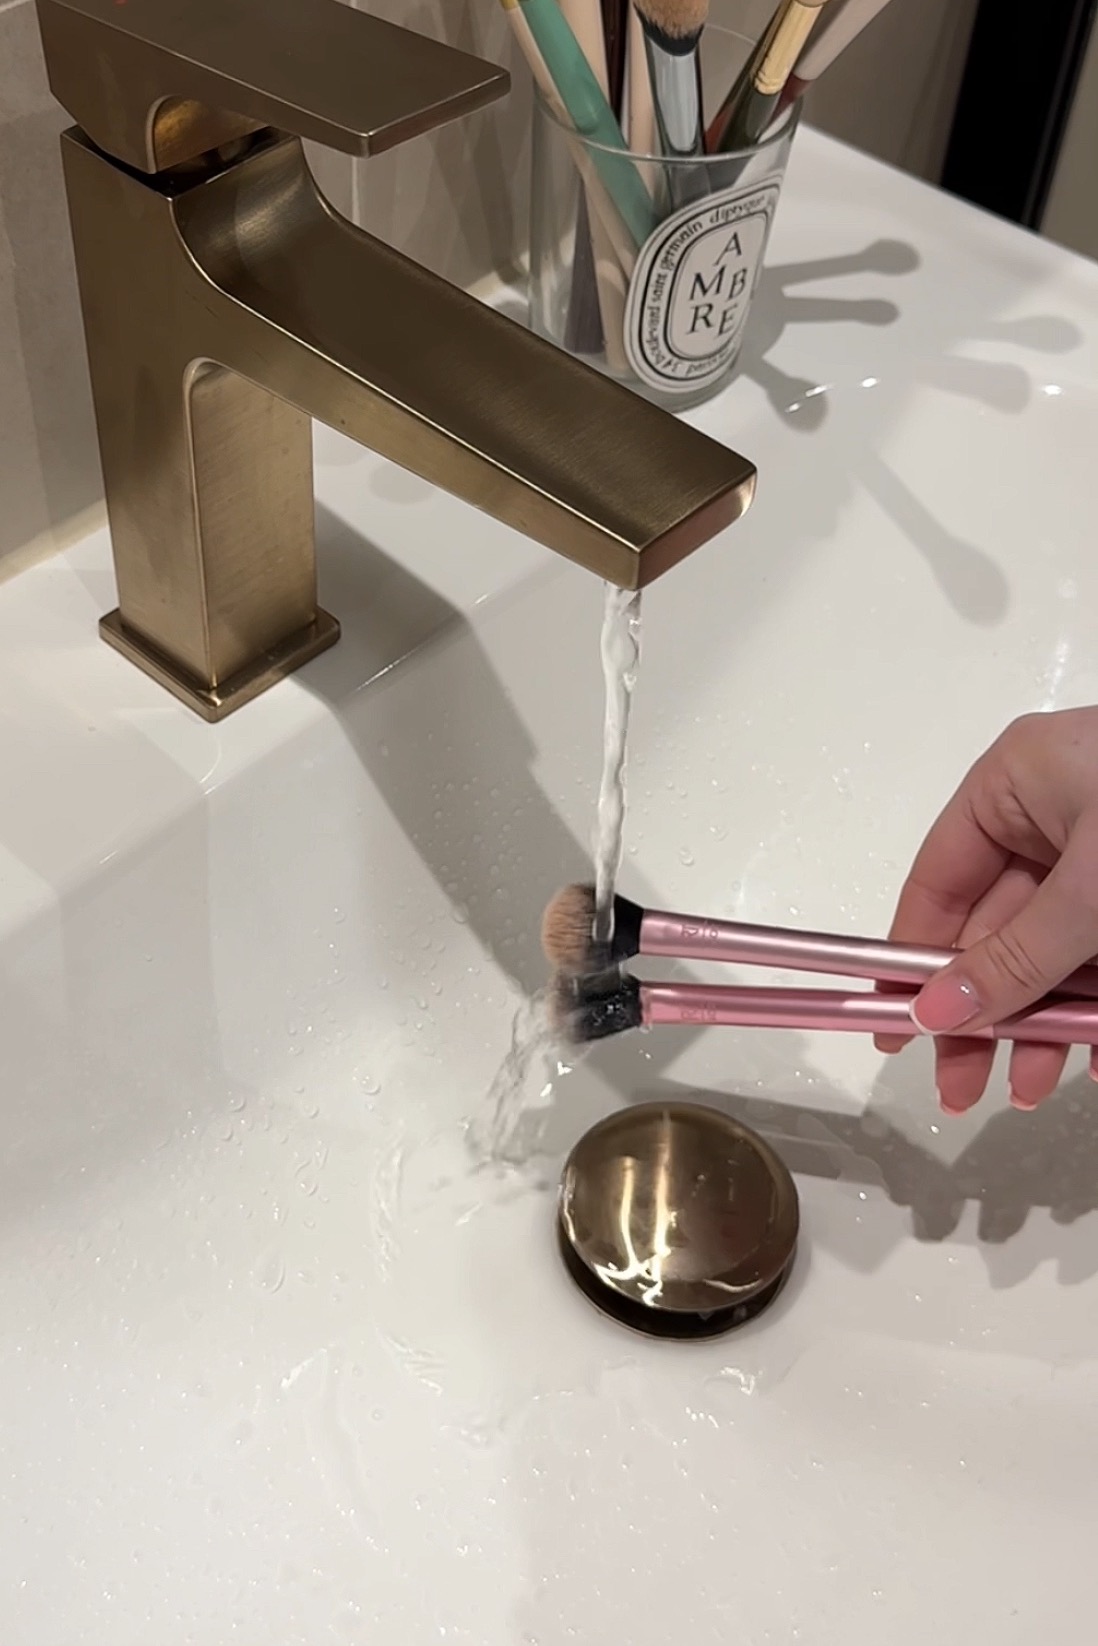
STEP 3 – Get Cleansing
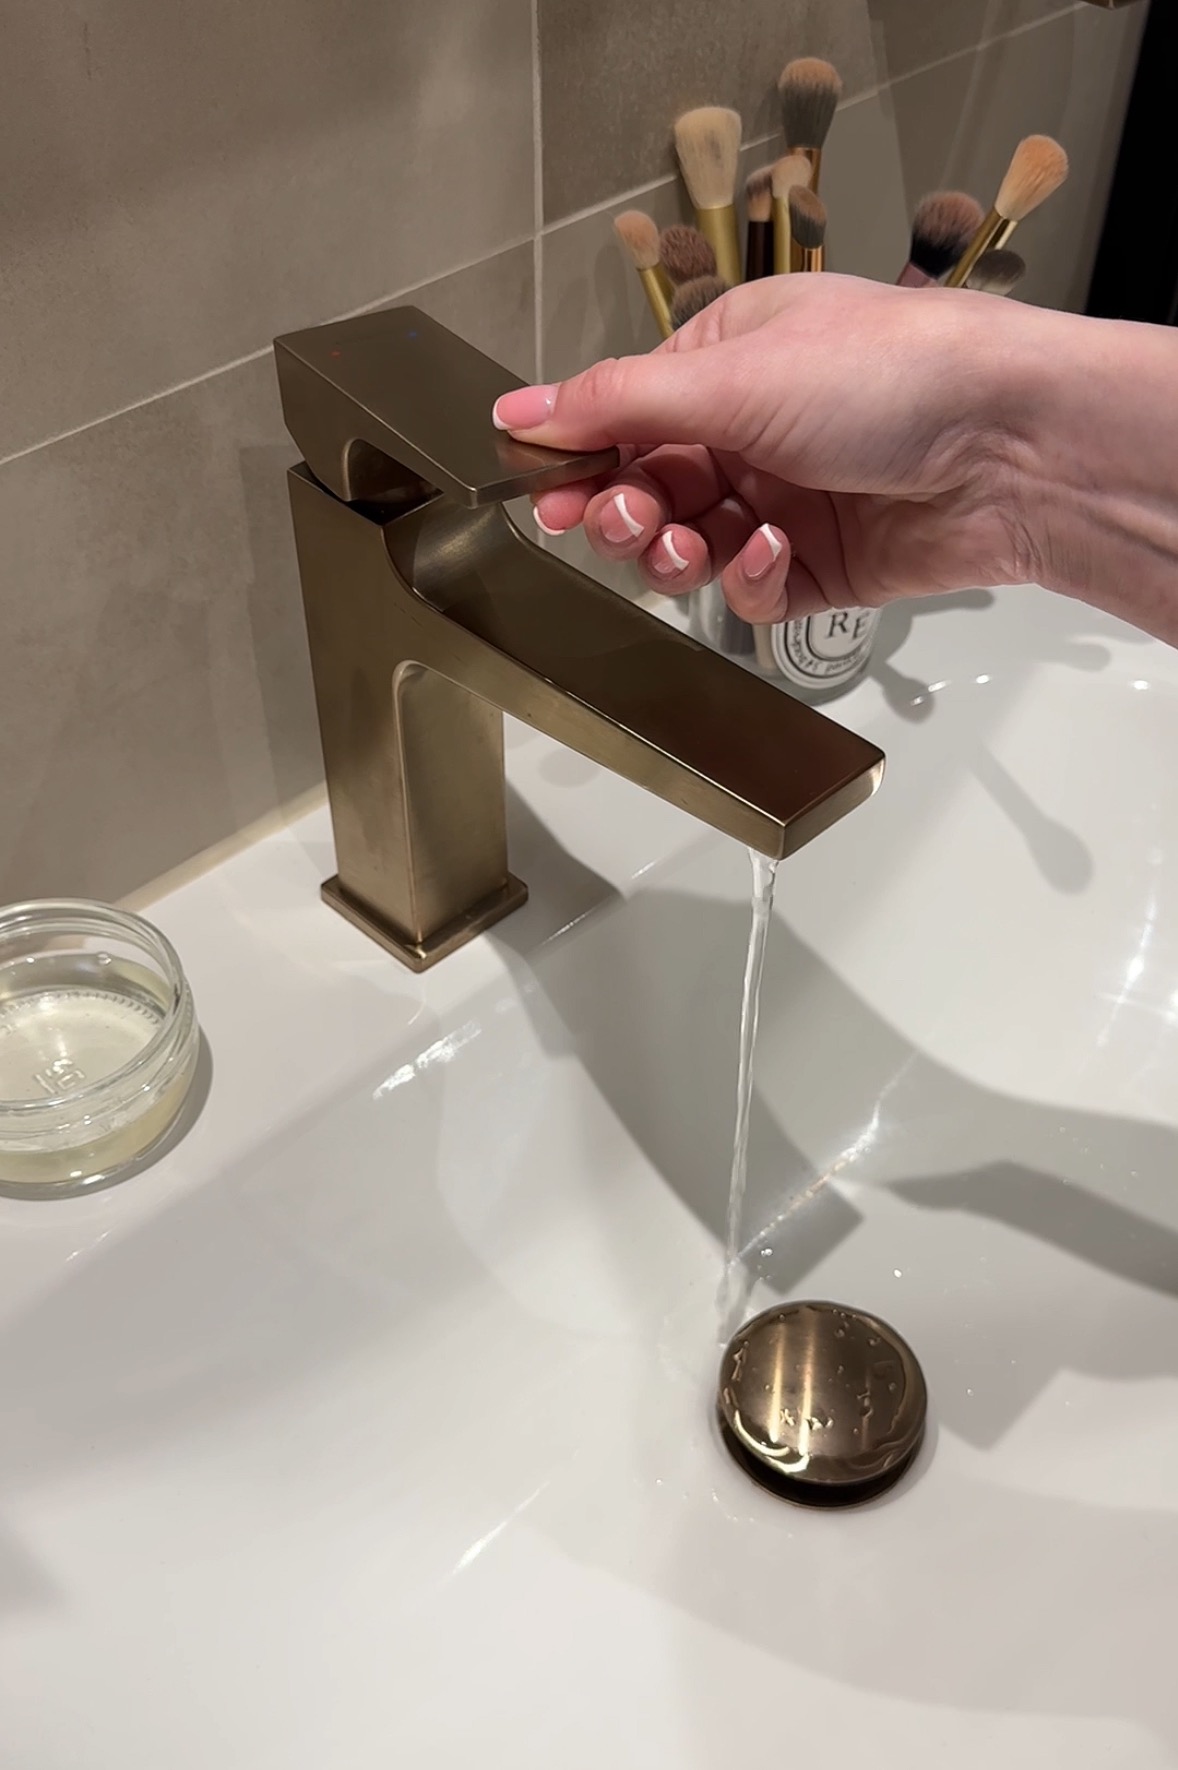
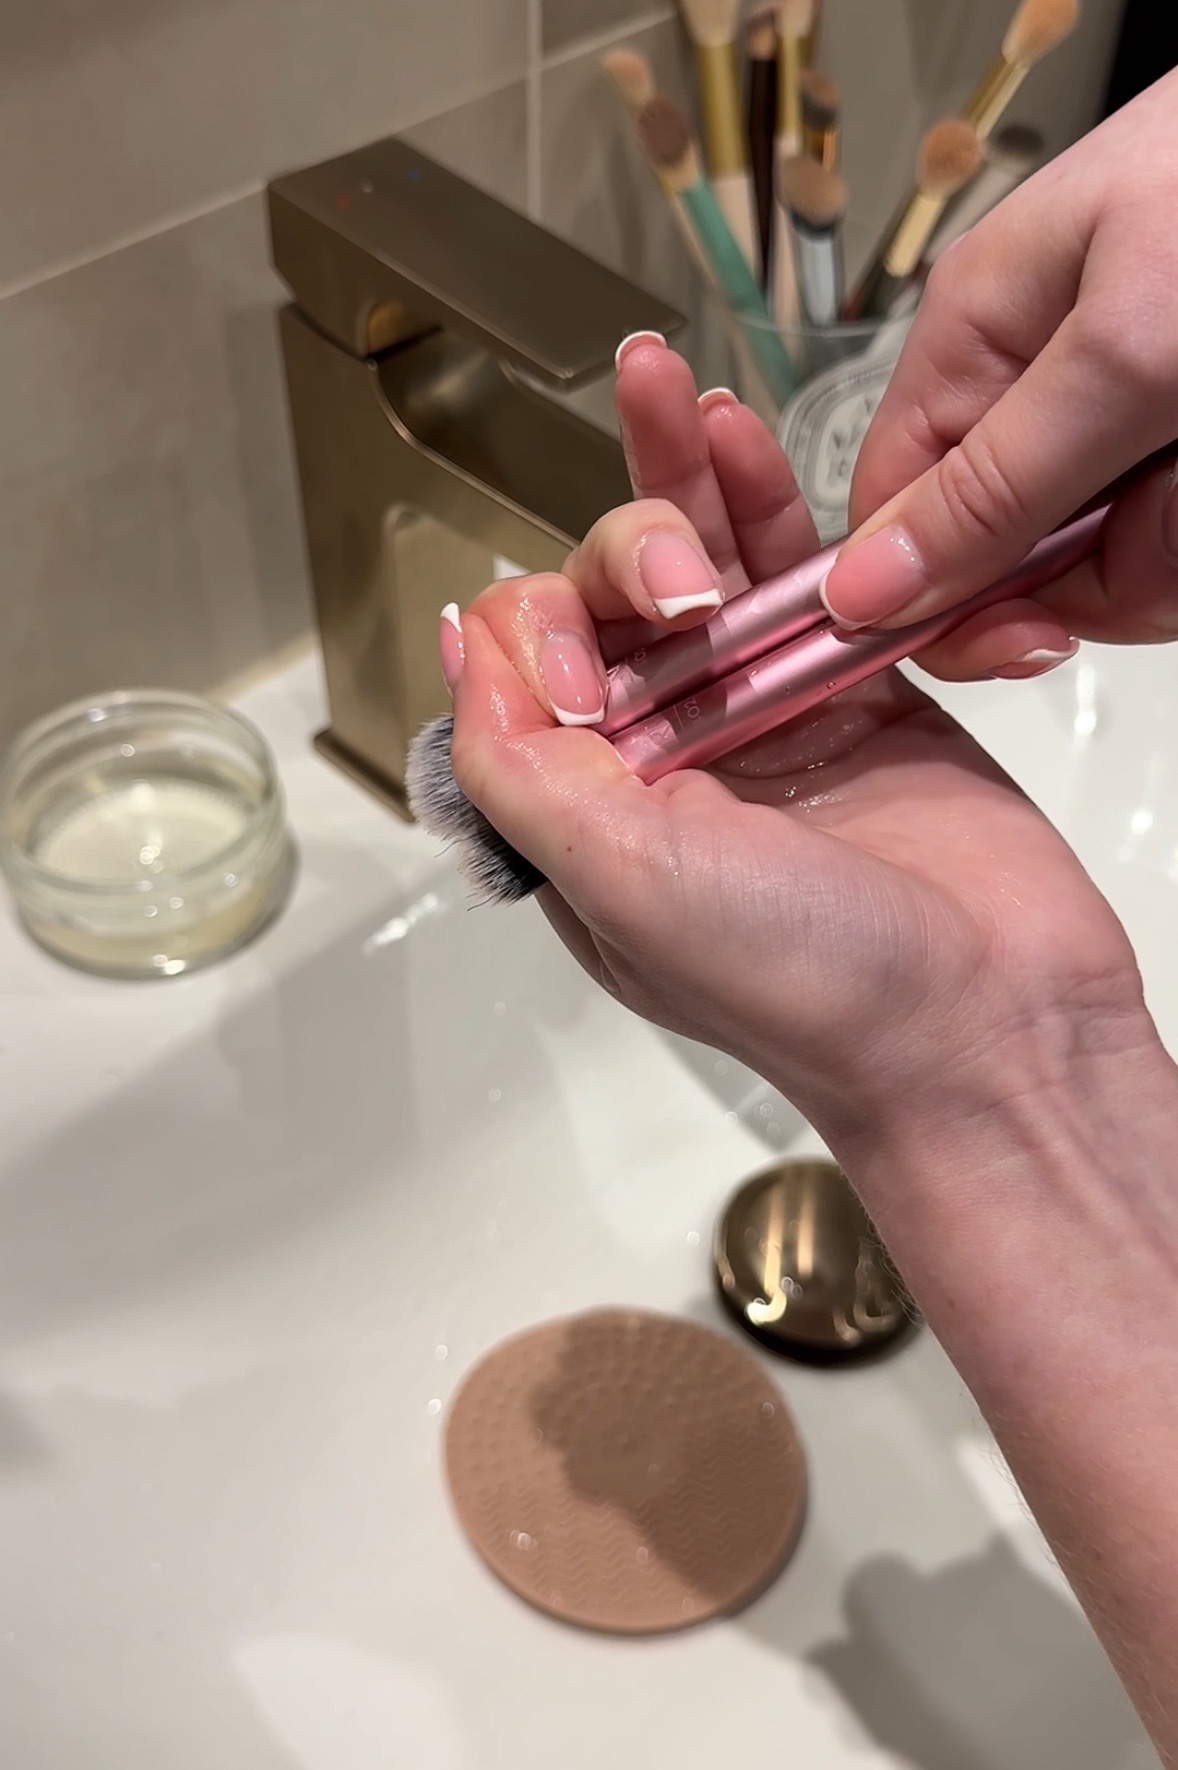
Make your way over to a sink and have a clean towel on hand (you’re going to need this later). Run the tap on a low pressure, low heat/luke warm temperature. Running the water too hot will for one not be very comfortable for your hands but can also break down the glue holding together your brush bristles.
You want to point your brushes downwards under the running water to get them wet first, followed by dipping them in your pot of fairy liquid or swirling in your brush soap until lathered (see demo photos below). Swirl your brush(es) onto your brush cleansing mat to break down the product build up inside the bristles.
TIP: For larger complexion brushes with stubborn foundation I will do one at a time, larger brushes with powder products I will group together a couple and for smaller brushes 3-4 at a time.
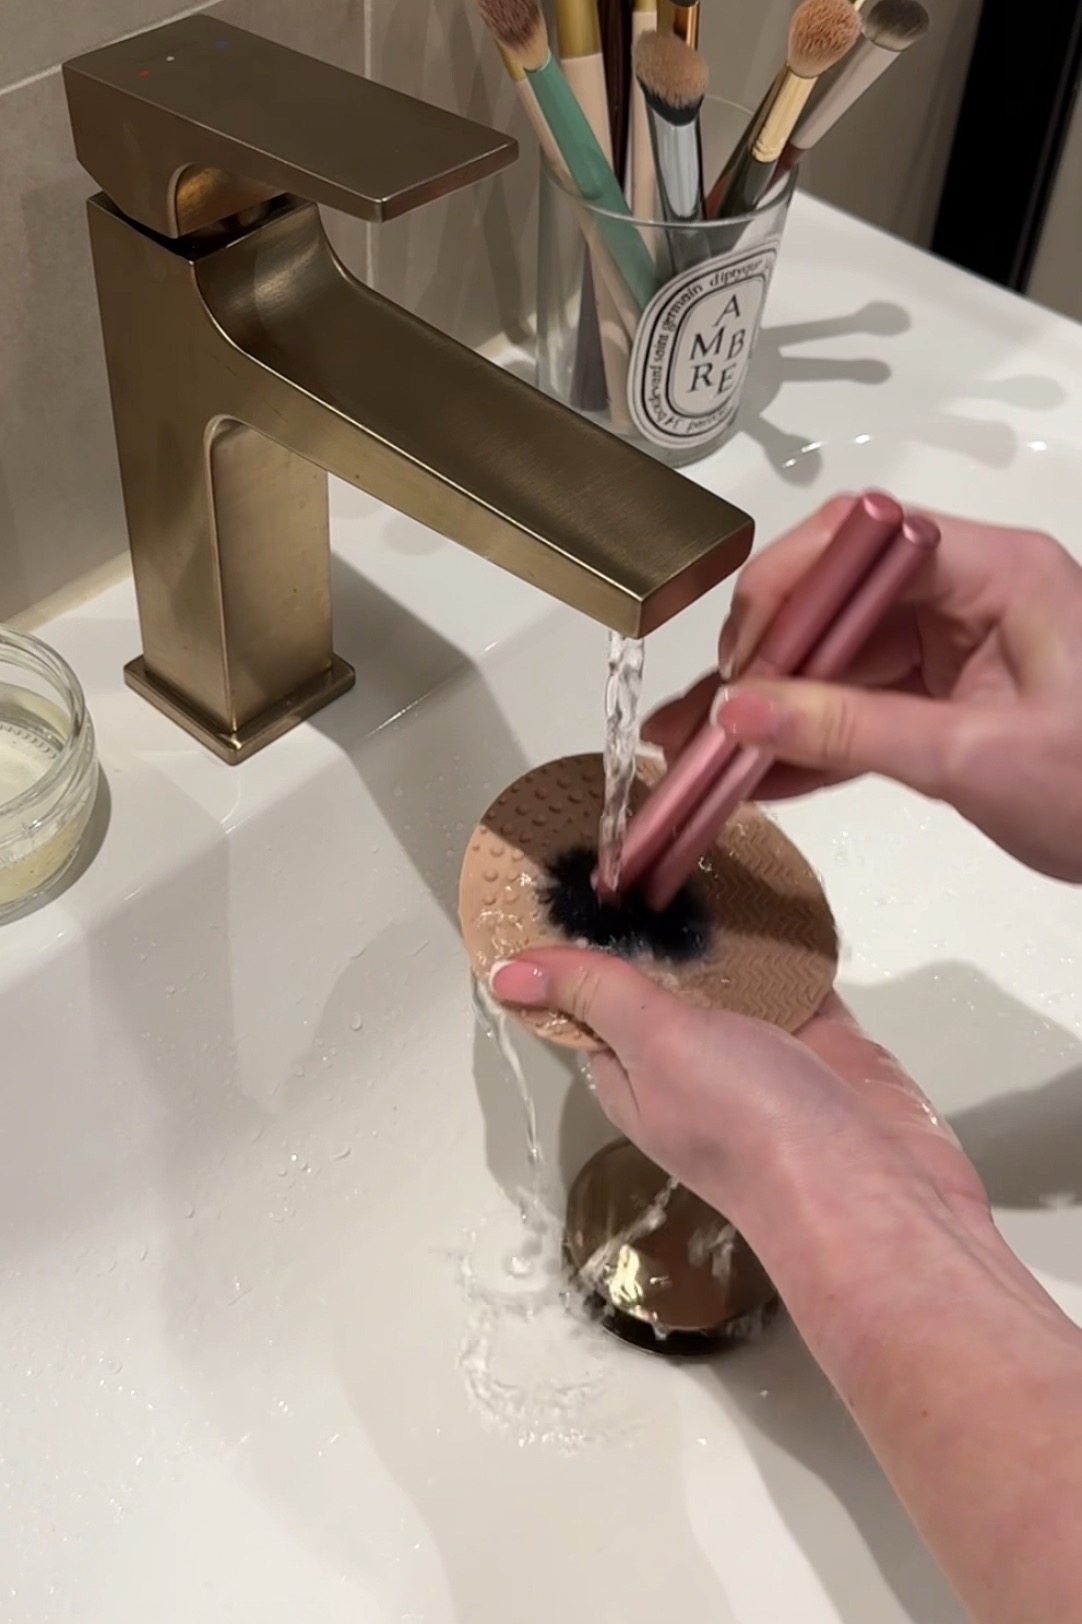
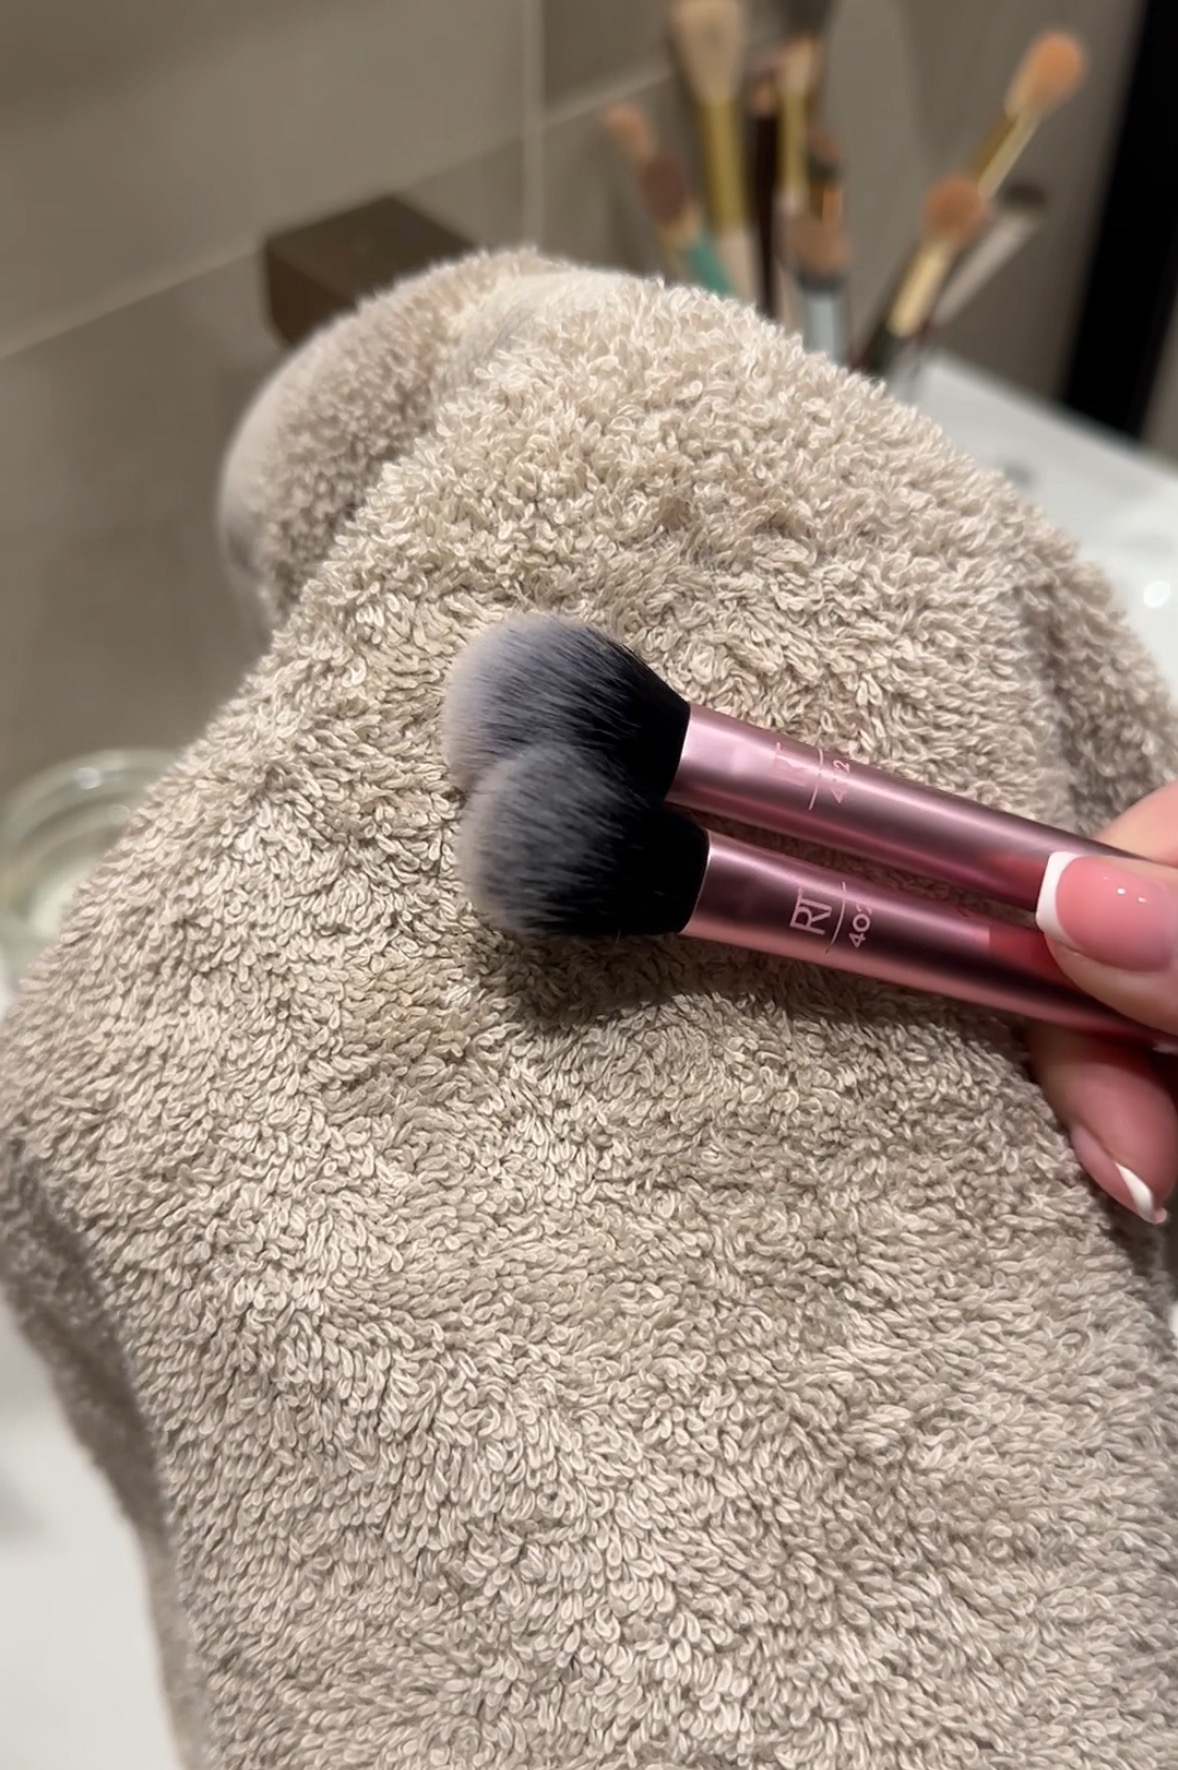
STEP 4 – Rinse & Repeat
Rinse and repeat. Rinse under the tap and squeeze out any remaining residue until water runs clear and there is no product left inside the bristles. You may want to repeat Step 3 if you have any particularly stubborn ones, I find foundation brushes can often need a couple of rinses.
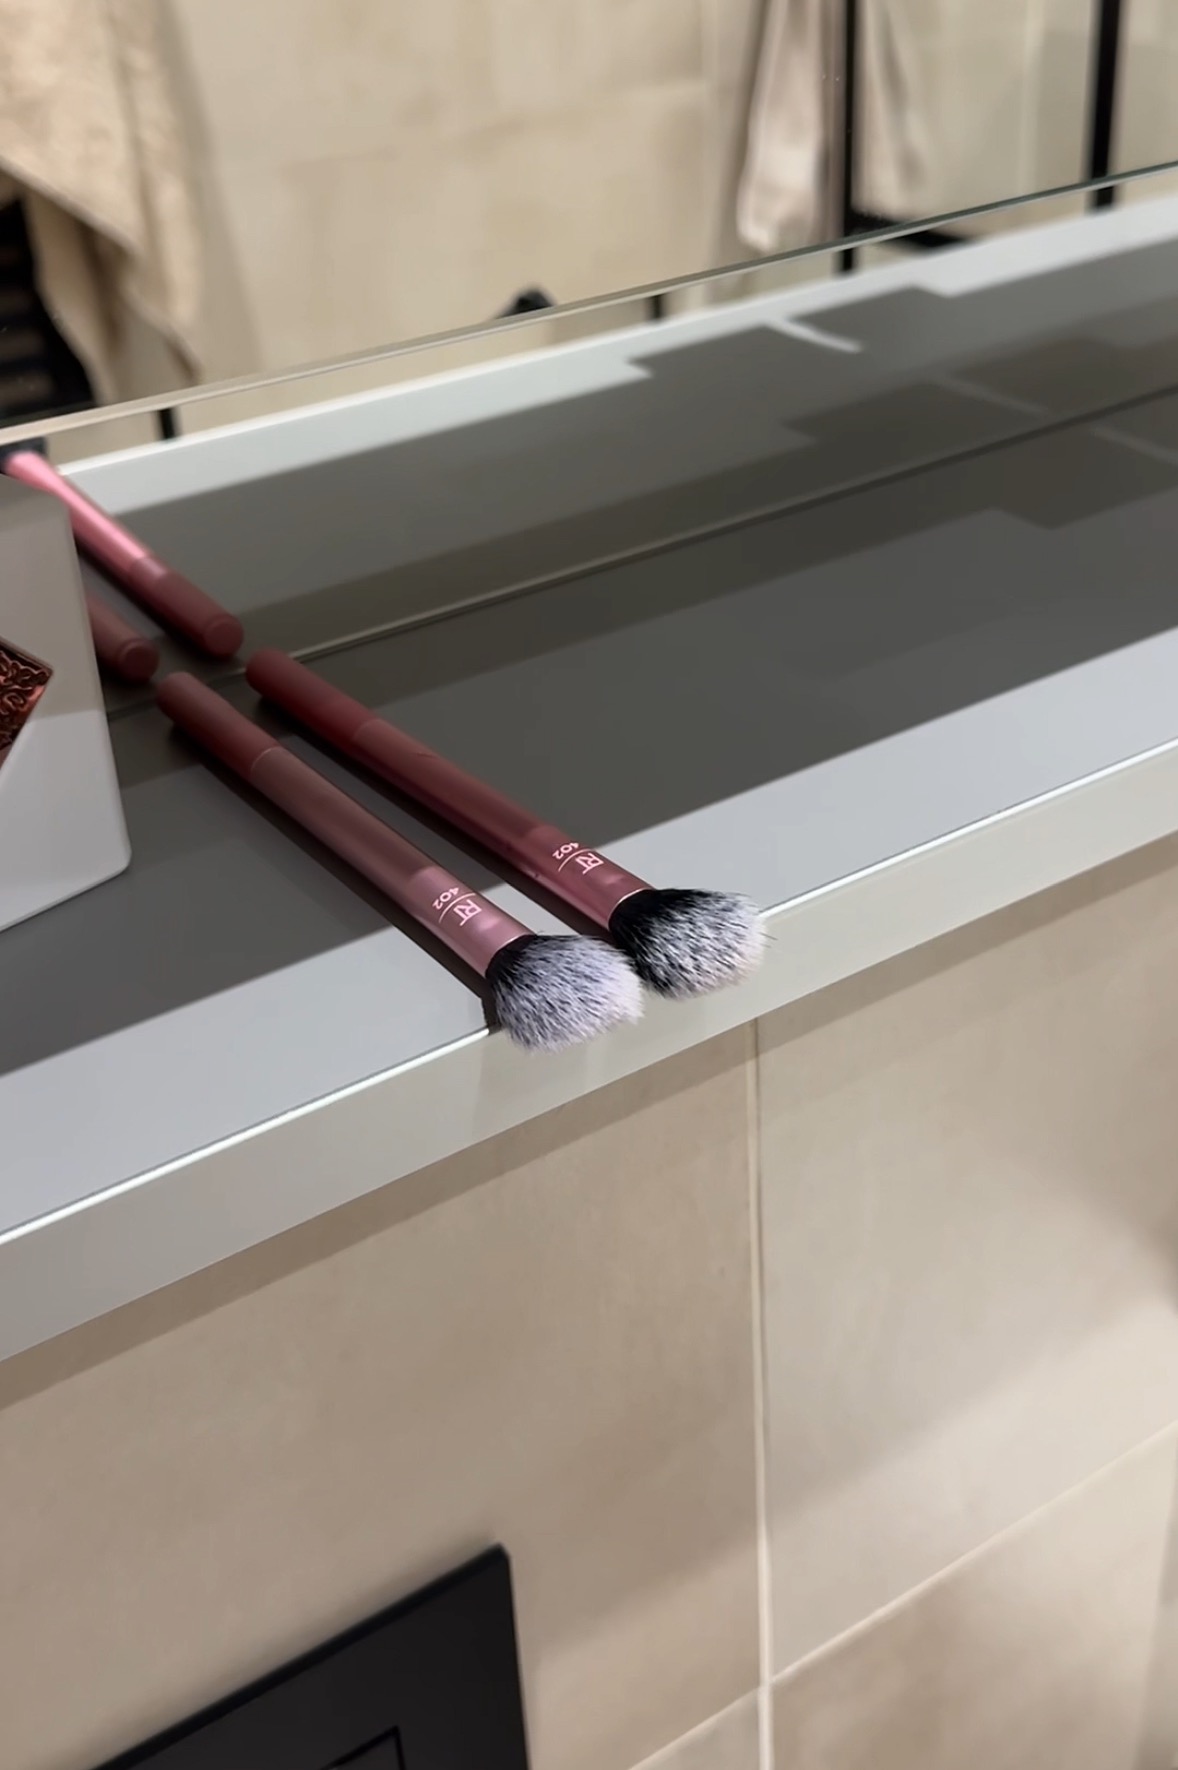
STEP 5 – Lay To Dry
Turn off the tap, and using the towel from earlier in Step 3, gently swirl your brushes on the towel to remove any excess water. Mould back into their shape and lay flat to air dry before moving onto the next. Though getting a hairdryer on them might seem like a good idea to speed up drying time, speaking from experience it can damage the brush hair and distort their shape.
TIP: Lay brushes hanging over a free edge and space out to dry quicker. If you have one, a stackable baking cooling rack can double up as a brush drying rack saving space and is portable!
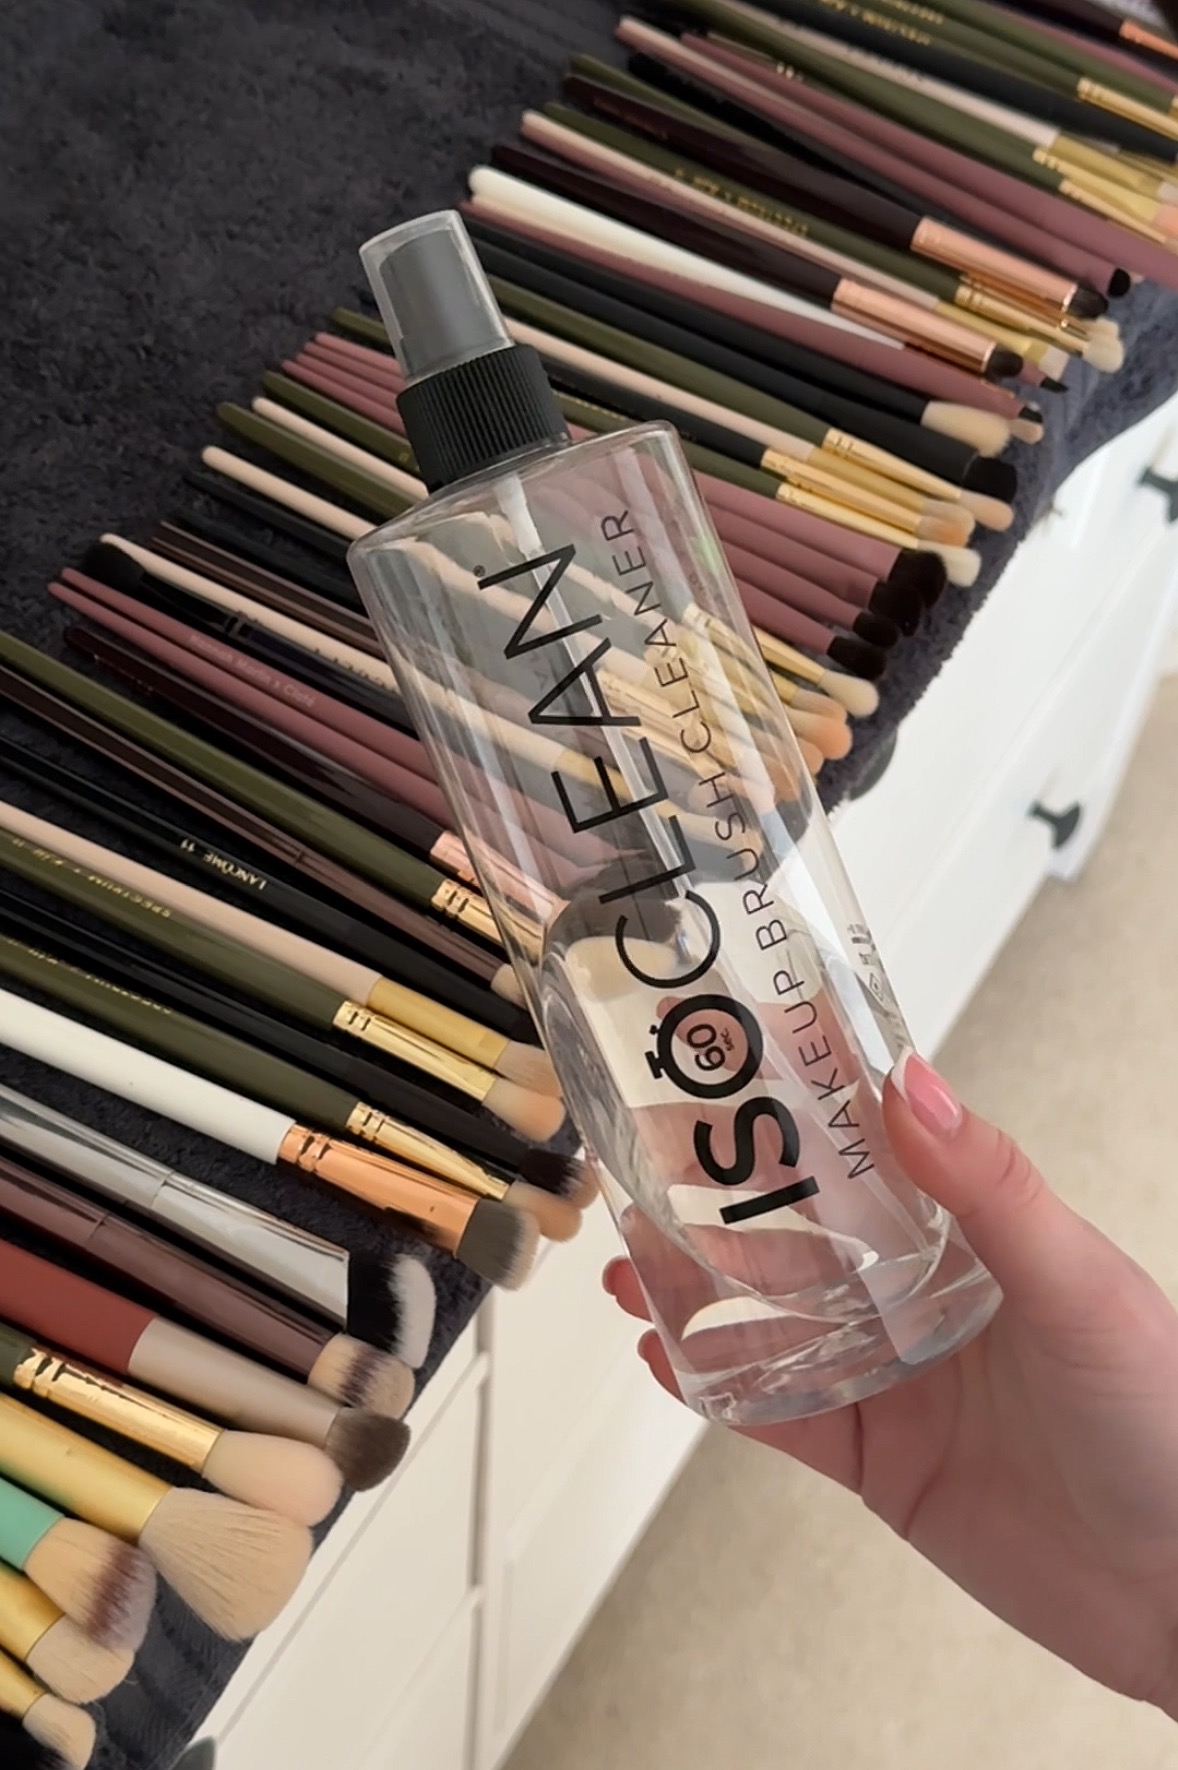
STEP 6 – Sanitise
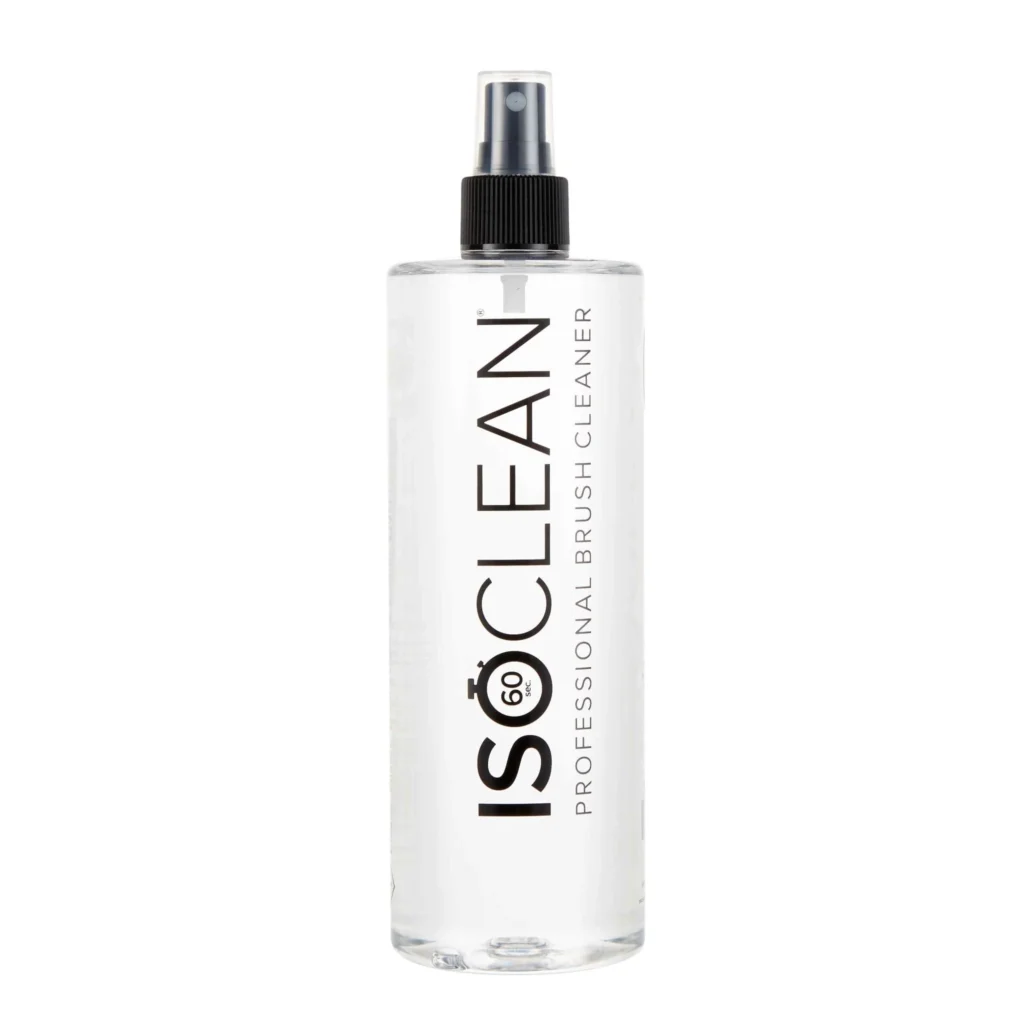
When you are satisfied all brushes are clean and have completely air dried (I usually do them on an evening and they are dry by the morning) as a last step spray dry brushes with brush sanitiser. My favourite is Isoclean or 70% alcohol. Finally give the handles a wipe down with a disinfectant wipe and you are good to go!
Watch the full wash routine on my TikTok below